How To Plop Curly Hair For More Defined Curls
This post may contain affiliate links, and I will earn a commission if you purchase through these links. Please read the disclosure policy for more details.
How you dry your curly and wavy hair is very important to help reduce frizz and have a lasting style.
It’s important you don’t touch or mess with your hair during the drying process to prevent frizz, and using the wrong material or tools can ruin all the hard work you did during the washing, conditioning, and styling process.
Plopping hair is the best way to dry curly hair for less frizz, more definition, and a faster dry time. If you’re new to the curly world you may not have heard about plopping before, but it’s very popular with those following the curly girl method.
What is curly hair plopping?
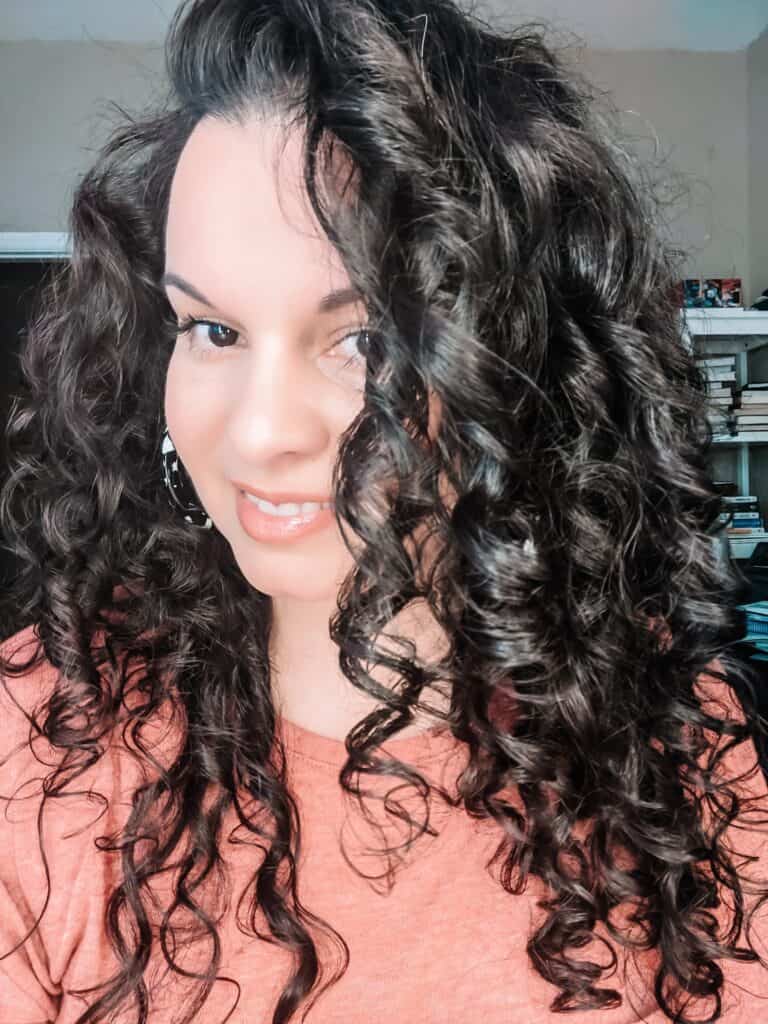
Curly hair plopping is a method that can help you to get more defined curls and cut down on drying time. It involves piling your hair up on top of your head while it’s still wet and wrapping it in a hair towel or t-shirt to dry. This is done on wet hair after all your styling product has been applied.
What is microplopping?
Microplopping is a modified version of curly hair plopping. Instead of piling all your hair on top of your head and wrapping it, you use your hair towel to push the hair up towards the scalp in sections, then press it against the scalp to squeeze out the excess water.
Microplopping is usually better for fine or low density curls since the length of your hair doesn’t sit on top of your roots weighing them down.
Why is plopping better than regular towel drying?
When you towel dry, your hair gets rubbed against the terry cloth which breaks up the curls and causes frizz and breakage. But if you want to cut down on drying time and enhance definition, plopping is the way to go. It keeps your curls scrunched and clumped, encouraging curl formation and giving your ends and roots much needed lift.
What are the benefits of plopping?
Let’s take a look at some of the main benefits of plopping your curly hair:
- Better clumping of curls
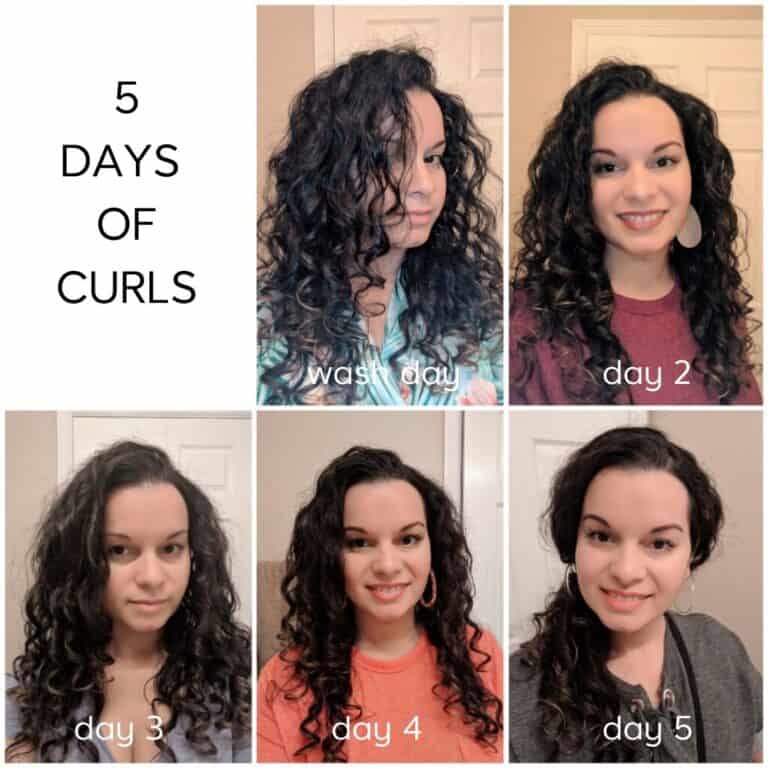
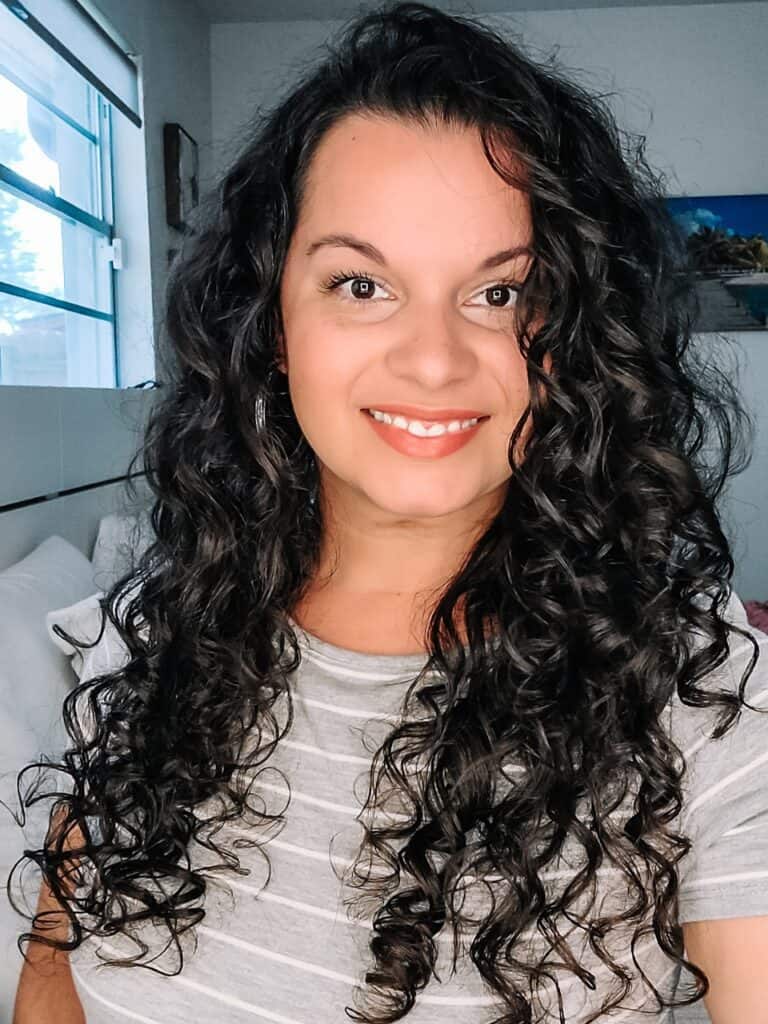
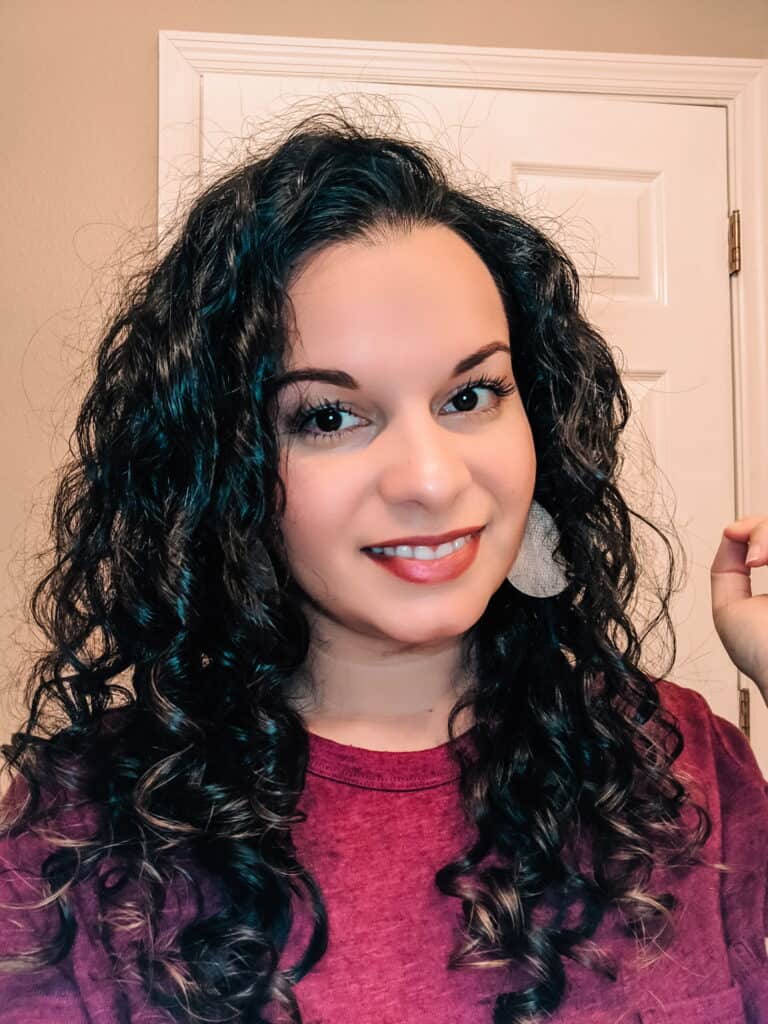
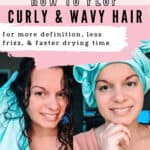
- More defined curls, less frizz and shiny curls that last longer.
- Curls will dry much faster
- No heat styling damage
- Can prevent tangles and split ends
What can you use to plop?
You can use any type of hair towel or t-shirt. I recommend t-shirt material over microfiber as it causes less frizz. My favorite is the Tee-Owels t-shirt hair towel because it’s larger than a shirt so it’s easy to wrap up and good for long hair. >>Use code HOLISTICENCHILADA15 to save on a Tee-Owels hair towel.
How do you plop curly hair?
There are several ways to plop curly hair. The most popular one is the following – see video below for a visual of this process:
- Before doing your hair, prepare your hair towel or t-shirt by laying it out across a surface at counter height (your bed, a chair, a table, use whatever you want). If you are using a t-shirt, make sure to lay it upside down with the sleeves closest to you.
- Apply your styling products to soaking wet hair.
- Flip you hair onto the center of the hair towel or t-shirt and press your hair down so that your hair piles in an accordion like fashion.
- Grab the end above your head and pull it over your hair towards the nape of your neck. You’re basically folding the towel over your head to cover your hair.
- Pull the sides/edges of the towel (or sleeves) and twist them to form 2 ropes, then pull them back around your head and tie to secure in place. You should be tying them over the flap of towel you laid over the nape of your neck.
- You can now leave it for as long as you want (but not overnight).
- When desired, carefully remove the towel by untying first.
How do you microplop?
Microplopping is even easier than plopping since you don’t have to tie anything up.
- Using your hair towel or t-shirt, place it over your hands with palms facing up, and gently scrunch a section of hair up towards the scalp.
- Push the hair against the scalp to squeeze out excess water.
- Repeat in different sections all over your head until your hair is no longer dripping.
Watch the video below to see a visual of this process.

How long should you plop for?
That depends on your goal. You can plop until your hair is dry, or plop for a while and then finish by diffusing.
Some people plop all day, some for 4-5 hours, others for just 15 minutes. Ultimately you have to try and see what works for you.
It is not recommended to plop overnight as this can contribute to poor scalp conditions (think fungus).
Are there any cons to plopping?
With all the benefits of plopping, there are some cons that you have to be aware of as well:
- It can be a bit tricky at first to get used to and take care that you don’t tug too much on your curls when flipping them back.
- It takes a lot of time and patience to dry your hair completely this way, especially if your hair is really thick (keep in mind that “thick” refers to *density* not *length*) or if the weather is cold or rainy.
- It can cause flat roots in some hair types. In that case, try microplopping.

what about wet plopping?
Wet plopping is similar to hair plopping, but is not done to dry the hair.
With wet plopping, you use something like a plastic shower cap to plop your hair right after styling or when you have a treatment in, like a deep conditioner. This is to help your hair absorb the products and increase definition and hydration. So if you suffer from dry curls, give wet plopping a try.
How to wet plop?
Wet plopping is very similar to dry plopping. Here’s exactly how to do it:
- After you wash and condition, apply your treatment or stylers to soaking wet hair and scrunch up to encourage curl formation and clumping
- Squeeze out excess water with your hands by scrunching up
- Dip your clumped curls into a shower cap
- Wrap a towel around your head and the shower cap to keep water from dripping all over you or place a towel around your shoulders
- Plop for up to 20 minutes
- Remove the shower cap and dry and style as usual. You could even follow up with dry plopping for maximum definition!
Plopping video tutorials
Check out the video below to see some hair plopping in action. I go over all the types of plopping and show you exactly how to do them.
Please do me a favor and share this post to social media, as it helps me grow my audience and spread the word about our curly hair movement! And remember to subscribe to my YouTube Channel for more curly hair tips and product recommendations. Thanks!