Perfect Haircuts At Home: The Unicorn Haircut
This post may contain affiliate links, and I will earn a commission if you purchase through these links. Please read the disclosure policy for more details.
DIY hairstyles like the Unicorn Haircut became popular in 2020 when salon visits were impossible. And now, with the cost of living increasing, people are always looking for ways to save money on their hairdressing bills.
So it’s no surprise that the Unicorn Cut is one of the most popular Google searches and videos about cutting your hair at home are going viral on YouTube.
This guide will take you through everything you need to know about Unicorn Cuts. Before guiding you step-by-step through the technique, also known as the Ponytail Haircut, we’ll look at the types of hair texture it suits and the equipment you’ll need.
All About The Unicorn Haircut Trend
The Unicorn Cut, or PonyTail Hair Cut, is a DIY hairstyling technique. It gets its name from the way you pull your hair forward into a ponytail in the middle of your forehead, right where a unicorn horn would sit. You then fasten a second band where you want to make the cut and get snipping.
This hair-cutting method creates cascading layers with shorter lengths at the top and front compared to those at the back of your head.
A Cheap and Effective Haircut at Home
You might not believe it yet, but you can certainly create a great look at home with the Ponytail Haircut. It can give your tresses extra volume and movement and enhance your curl definition.
Of course, this method won’t give you the precisely tailored results you would get at a professional salon, and you might need to do a few touch-ups along the way. But if the technique works well for you, the Unicorn Cut can be a great way to save money on salon visits.
Ideal Hair Type: Straight, Waves, or Curls
The Ponytail Haircut can be a fun experiment with your hair, but it doesn’t work well on all hair types.
Different hair textures will get different results, and cutting layers in curly hair or wavy hair tends to work better than straight hair. The natural waves and curls soften the layering effect and it’s harder to spot any unevenness on curly layered hair.
The layers can look pretty blunt and choppy if you have straight hair, or if it is particularly fine or kinky. You will probably get more flattering results at a professional salon.
Ideal Length: Best for Mid-Length or Long Hair
Strongly defined layers work better on mid-length or longer hair, and cutting long hair also gives you more room for touching up any unevenness.
If your locks are shorter than mid-length, it would be better to visit a professional stylist to guarantee you get the look you want.
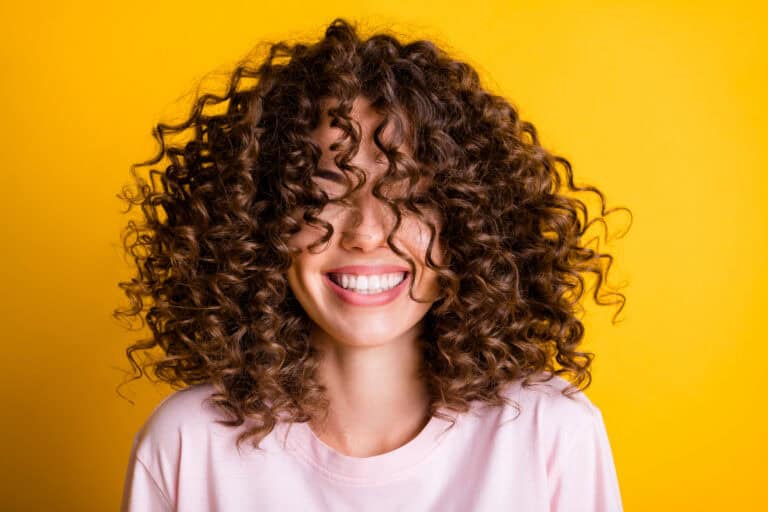
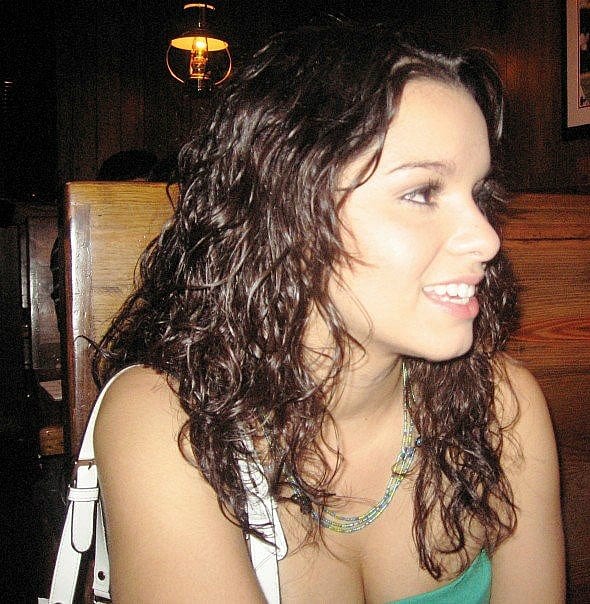
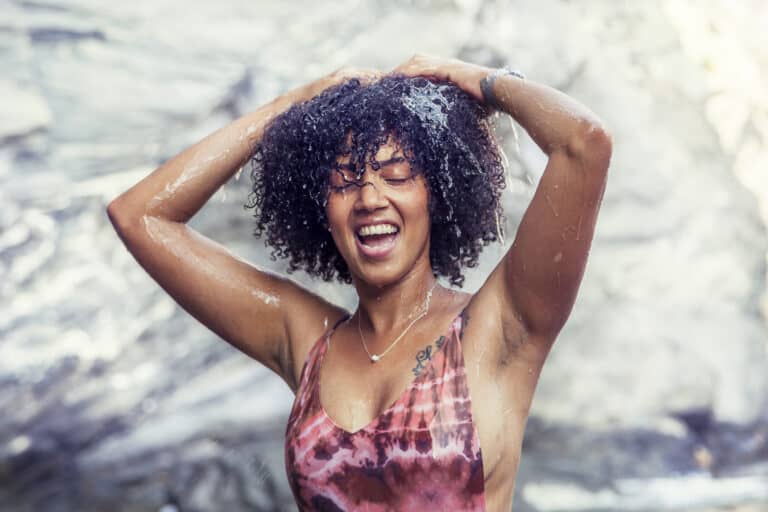
Examples
Check out the Unicorn Cut examples below.
The Unicorn Haircut Method
If you’re ready to go ahead with the Unicorn cut, this simple guide will take you step-by-step through preparing your hair and carrying out a ‘do it yourself’ haircut.
Prepping Your Space
Ensure that the space where you will cut your own hair is clean and clutter-free. You will need access to a mirror to check the placement of your ponytail.
Tools Required
As well as the mirror, you will need a few pieces of equipment to carry out your Unicorn Cut at home.
Do It Yourself Hairdressing Scissors
You will need professional-standard scissors to get the best result from the Unicorn cut. Trying to use blunt kitchen scissors or office scissors will give an unreliable finish and fray your strands.
This Equinox Professional Hair Cutting Scissors Set contains both regular and thinning shears to get the perfect finish to your DIY hairstyle.
*If you have curly hair, you should NOT use thinning/texturizing shears as they end up causing frizz when hair is worn naturally.

A Spray Bottle
Keep a spray bottle filled with water handy so you can dampen your locks if they start to dry out.
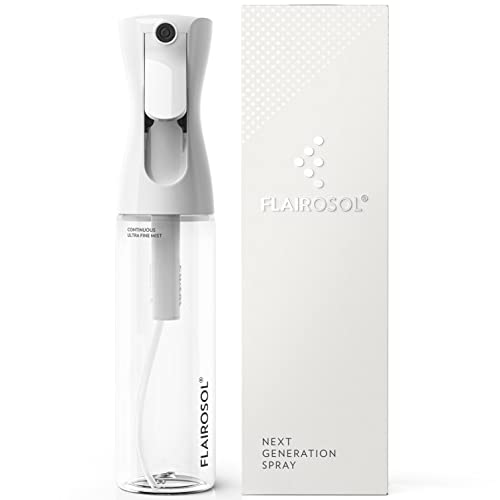
A great continuous spray misting bottle that makes refreshing so much easier.
No Damage Hair Ties
Using No-Damage ties like these Soft Seamless Hair Bands will allow you to fasten your hair up without stretching, snapping, or damaging your locks.

T-Shirt of Microfiber Towel Wrap
A t-shirt hair towel is my preference (less frizz!) but you can also use a microfiber hair towel wrap. Using one of these is the best way to remove excess water without causing knots and tangles.

Reduce frizz and speed up drying time. Every curly girl should have one. Use code HOLISTICENCHILADA to save 15%.
Dry Cut vs. Wet Cut
A Unicorn Cut works best on damp hair because the weight of wet hair will lengthen the strands too much, making it hard to judge the right place to make your cut. But if you try to cut your hair when fully dry, it will be harder to get the ‘unicorn horn’ right, and make it harder to get the right result from your cut.
This may not be the same case for curly hair since curly hair should be cut dry.
Preparing Your Hair
First, wash and condition your hair as usual, and then use a hair towel to blot your locks so they aren’t dripping wet.
Apply a detangling product if you usually use one, then use a wide-tooth comb or a detangling brush to ensure you have removed any tangles or knots. You can spritz your strands with water from a spray bottle if they start to dry out.
How to Section Hair
Once your locks have been thoroughly detangled, you can create the ‘horn’ that gives the technique its name.
Flip your mane upside down and gather the hair into a high ponytail just above the center of your forehead, right where a unicorn horn would sit. Placing your ponytail at the top of your head would only give a few longer layers, and you will create more layers by pulling your hair further forward.
If you usually have a side parting, position your ponytail directly in front of where your part usually lies. And if you have bangs, it’s better to leave those out of your ponytail and trim them after you’ve cut the bulk of your hair.
Stand back up and check that you’re happy with the placement of your ponytail, and then secure it with a ponytail tie. Check the back and sides of your head to make sure there aren’t any lumps in the hair. If it doesn’t feel smooth, take the pony tail down and try again.
When you’re satisfied, run your comb, brush, or fingers through your ponytail before moving on to the next step.

Measuring Your Hair
Next, you need to decide how much you want to cut off your hair’s length. A good tip to remember is that trimming the ponytail below chin level will ensure that the shortest layers are no higher than your jawline.
So use your second ponytail holder to mark where you will cut, wrapping the hair tie close to the base of your ponytail and sliding it down to ensure all the hairs are as straight as possible.
If you’re unsure, starting with just 1/2” to 1” is better because you can always repeat the process if you want to take more off. You could take up to two inches off if you feel more confident.
But remember that taking more length off your ponytail will give you a greater difference between the front and back of your hair.
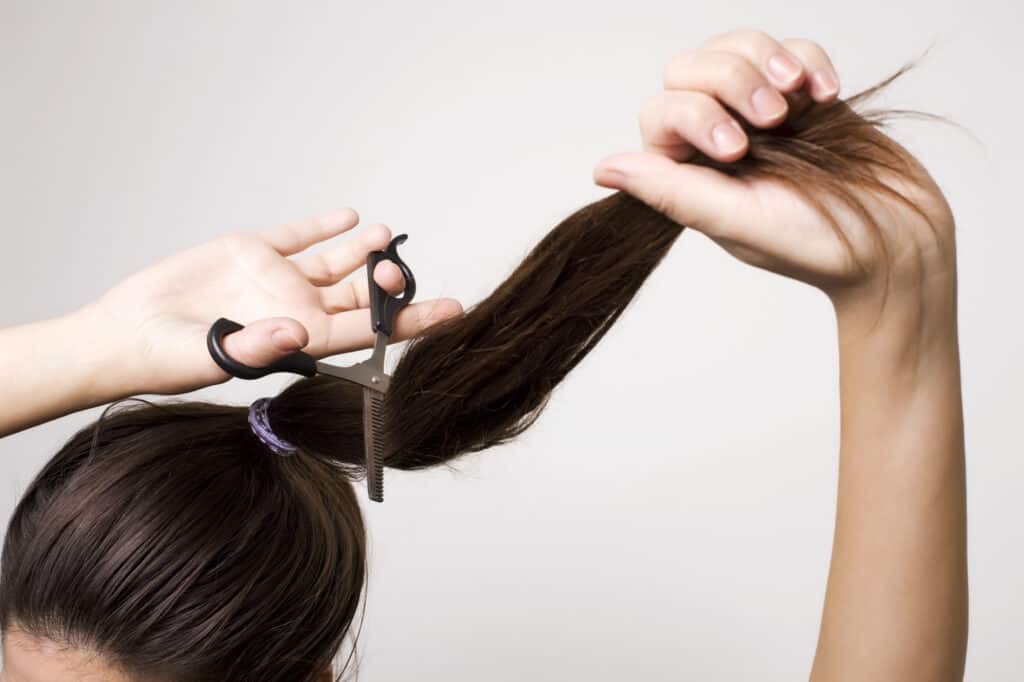
Making the Cut
You will make your cut directly below the second ponytail holder, using small, even snips that don’t take off too much length at once.
It’s essential to use sharp shears for the Unicorn Cut. If your scissors aren’t sharp or you try using kitchen scissors, cutting through the bulk of your locks will be difficult, and the ends may split more easily.
Thinning shears will give a softer finish to the ends, making any small errors less obvious. Regular shears will give a blunter finish which might work better on fine hair.
Finishing Touches
If your layers are too blunt, point cutting your hair can help to soften the look. Put your hair back up into the unicorn ponytail and then cut straight up into the ends with your regular shears or thinning shears. Brush or comb out your hair and repeat the point cutting process if necessary.
The pony tail method can create a distinctive V shape in your hair. You can correct this by making a center parting all the way down your head and pulling the hair around to the front of your shoulders. Make sure the hair is even, and then snip straight across the bottom layer of your hair.
This will remove the long V point and give your Unicorn Cut a softer ‘U’ shape.
Unicorn Cut Video Tutorial
The videos below walk you through a unicorn cut whether you have straight or wavy and curly hair.


Regular vs. Double Unicorn
A Double Unicorn Haircut is a version of the hair cut that allows you to achieve different lengths.
You start with the regular Unicorn ponytail and then repeat the process two or more times. Each time, you pull smaller amounts into the hair tie, which gives more shape to your DIY haircut.
Styling Your New Curly Hairstyle
Once you’re happy with the finishing touches, you can style your hair just as if you had visited the salon.
A good tip is to apply a small amount of serum to the freshly cut ends. This keeps your locks looking healthy and prevents split ends, which might allow you to go a little longer between cuts. Herstyler Hair Repair Serum is enriched with Argan oil, vitamin E, and aloe vera to nourish and soften your hair, leaving it looking glossy and full of life.
Experts recommend that you trim your hair regularly to eliminate split ends and keep your locks looking healthy. If you choose to cut your own hair, you will need to trim a Unicorn hair style every 6 weeks or so. But be sure your hair has grown long enough to allow you to place the elastic bands correctly.

Unicorn Cut FAQs
Are you still trying to decide whether you want to try the Unicorn Cut? These frequently asked questions might help you make your decision:
What Is the Difference Between Wolf Cut and Unicorn Cut?
The Wolf Cut is a curly haircut that is somewhere between a shag and a mullet. It gives you wispy volume at the crown, shaggy bangs, face-framing layers on the sides, and long layers at the back.
It’s better to go to the salon to achieve this style. However, there is also a home haircut called the Wolf Unicorn Cut, which is a more complex version of the Double Unicorn. In this version, you cut your hair in multiple steps to give masses of layers.
What Face Shape Is a Unicorn Cut Best For?
A Unicorn Haircut can suit any face shape, depending on factors like the length of your hair and whether you have bangs cut into your hair.
Is the Unicorn Cut the Same Thing as the Ponytail Haircut?
The Unicorn Cut is another name for the Ponytail Haircut, also known as the Ponytail Method.
The Bottom Line
Cutting your own hair is a bold step, and this DIY haircut technique gives a heavily layered look that doesn’t suit all hair types.
But the Unicorn Cut only takes a few minutes, and the few tools you need aren’t very expensive. So if it works for you, the ponytail method could be a great way to avoid the time and expense of a salon visit.
Want to remember this? Save Perfect Haircuts at Home: The Unicorn Haircut to your favorite Pinterest board!