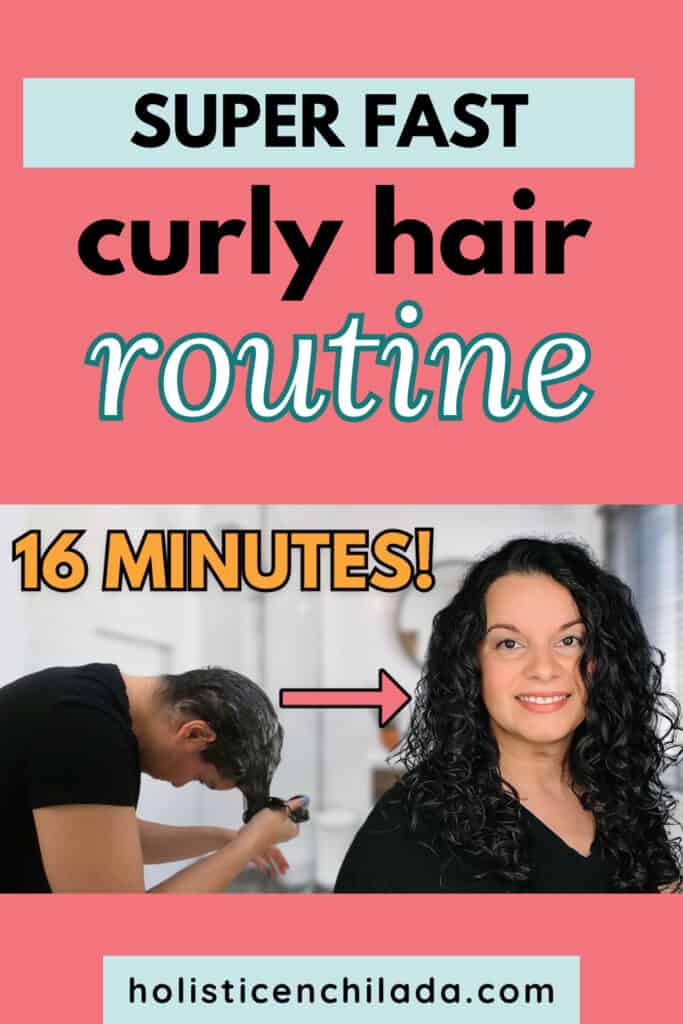
A 5-Step Easy Curly Hair Routine In Under 20 Minutes
This post may contain affiliate links, and I will earn a commission if you purchase through these links. Please read the disclosure policy for more details.

You don’t have to spend a long time on your wash day routine to get great results. If you want a fast curly hair routine that gives you beautiful, defined natural curls, this post is for you!
This is my consistent routine for wash day because it delivers great results in less than 20 minutes.
When I filmed this routine for my YouTube channel, it took me just 16 minutes from starting to shampoo my hair to applying the finishing touches. In fact, it often takes me less than that when I don’t have to talk to the camera.
In this article, I’ll guide you through the 5 essential steps of my routine and share the tips and tricks that will help you get ready to go in 16 minutes or less.

The Importance Of Choosing The Right Products
Before we get onto the actual wash day routine, I want to stress that you need to use hair products that you already know work well.
Of course, it’s good to experiment with new products and find out what works well with your hair texture, hair porosity, and hair density.
However, when your aim is to wash, style, and dry your naturally curly hair as quickly as possible, you don’t want to waste time trying out different products and finding they don’t blend well.
If you want to test a different shampoo or try using mousse instead of hair gel, do it on a day when you’ve got more time to spare, just in case you have to wash it all out and start again.
Before You Start
Make sure you’ve gathered everything you need, so you don’t have to hunt down your detangling brush in the middle of your routine.
You’ll need:
- Curl-friendly shampoo
- Rinse-out conditioner
- Lightweight leave-in conditioner (optional)
- Your choice of styling product – I like Curlsmith Hydro Style Flexi-Jelly
- Heat protectant spray if your hair is damaged
- Detangling brush or wide tooth comb
- Microfiber towel or cotton T-shirt
- Hair dryer with diffuser attachment (optional but strongly recommended)
Ready? Start the clock!
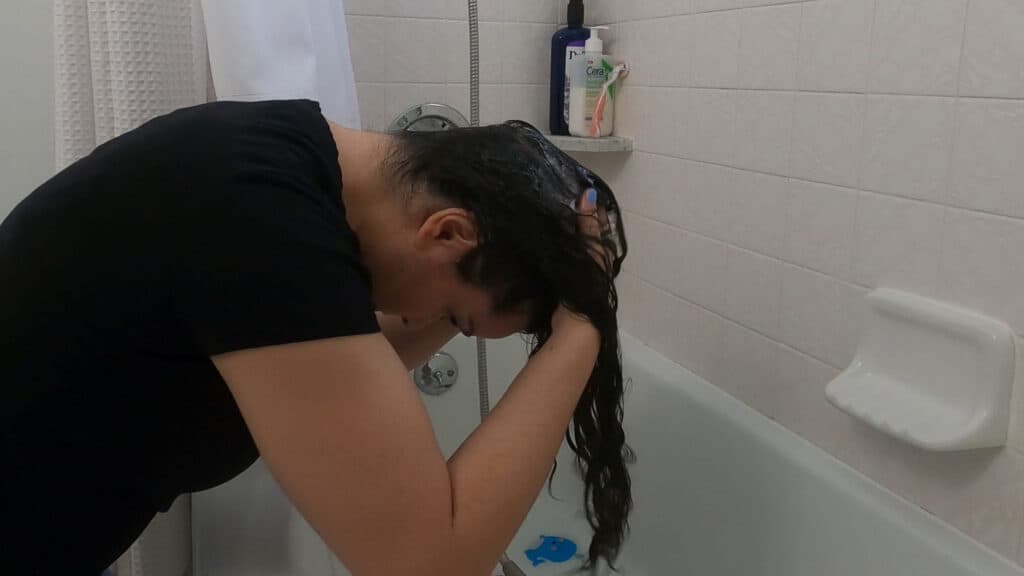
Step 1: Washing Your Hair
The first step of this quick curly hair routine is washing your hair using the right shampoo.
Of course, that means a curl-friendly sulfate-free shampoo with gentle cleansers that won’t strip the natural oils from the hair shaft.
For this routine, it also means a shampoo you know won’t need two applications or a lot of scrubbing, so you can get great results as quickly as possible.

Once you’ve rinsed out the shampoo, you’re going to follow up with a hair conditioner that gives you lots of hair slip, as this will speed up the detangling process. If your hair isn’t particularly dry, using a good rinse-out conditioner means you won’t need a leave-in conditioner in the styling stage.

This routine doesn’t have enough time for any deep conditioning. If you want to use a deep conditioner or hair mask, you’ll need to do that on a day when you have more time available.
I like to use a Wet Brush Original Detangler or Tangle Teezer Detangling Brush when I need to detangle quickly. It’s much faster than using my fingers or a wide-tooth comb.
This first stage just takes me a few minutes because I use the best products for my hair. Now I’m ready to move on to forming clump curls.
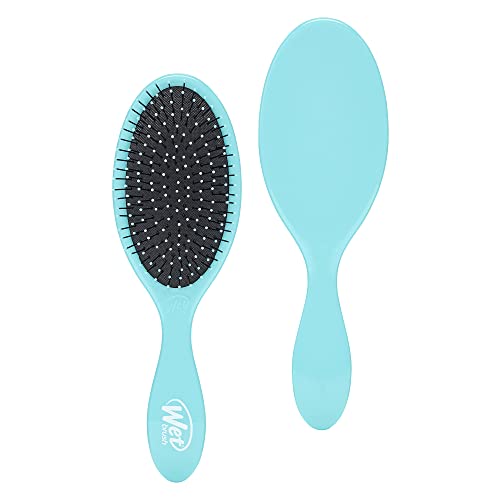
Do yourself (or friend/daughter/mom/partner) a favor and get this brush. You'll have a lot less complaining about detangling and smoother curls.
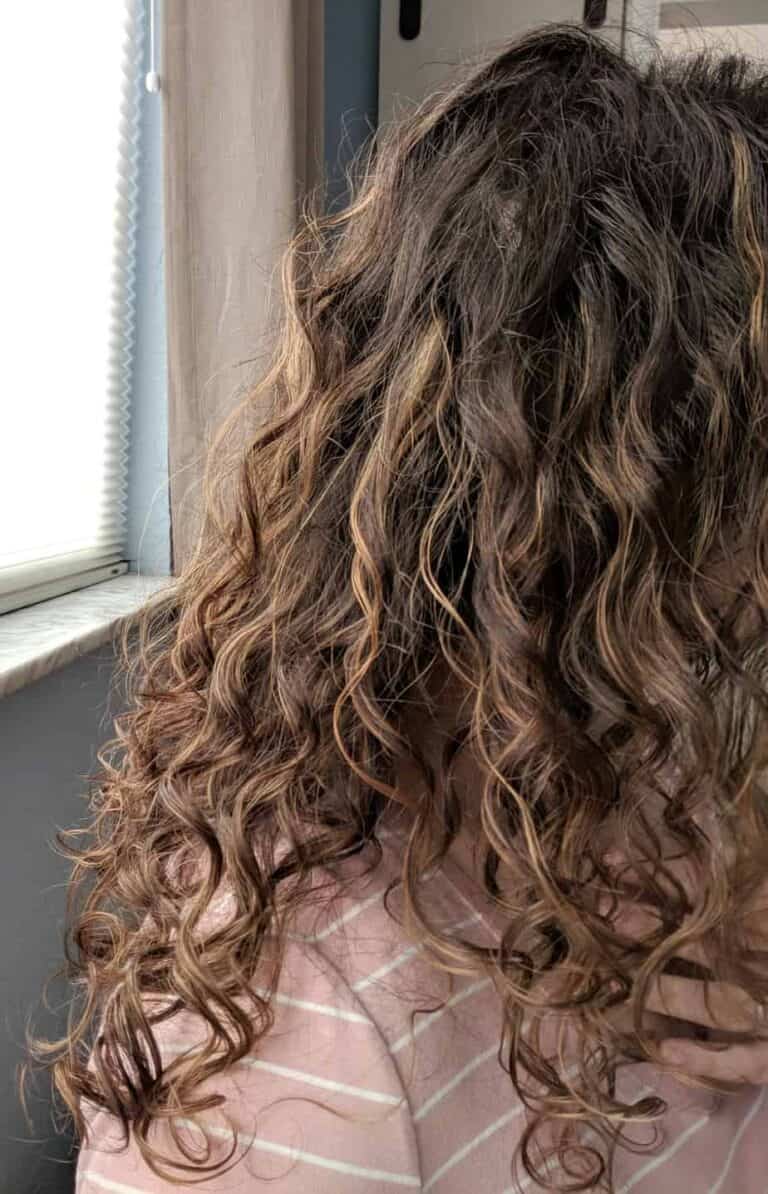
Step 2: Creating Curl Clumps
This really is a crucial step in this fast curly hair routine because creating curl clumps will have a major effect on your finished result.
You’re going to clump your wet hair before you apply any styling products, and you’ll need to work quickly. It’s important not to spend a long time on this stage.
So work with your natural curl pattern and rake your fingers through your hair to create nice clumps. You can also flip your head from side to side as you work through your hair, which will loosen your hair from your scalp and help give you a better overall effect.
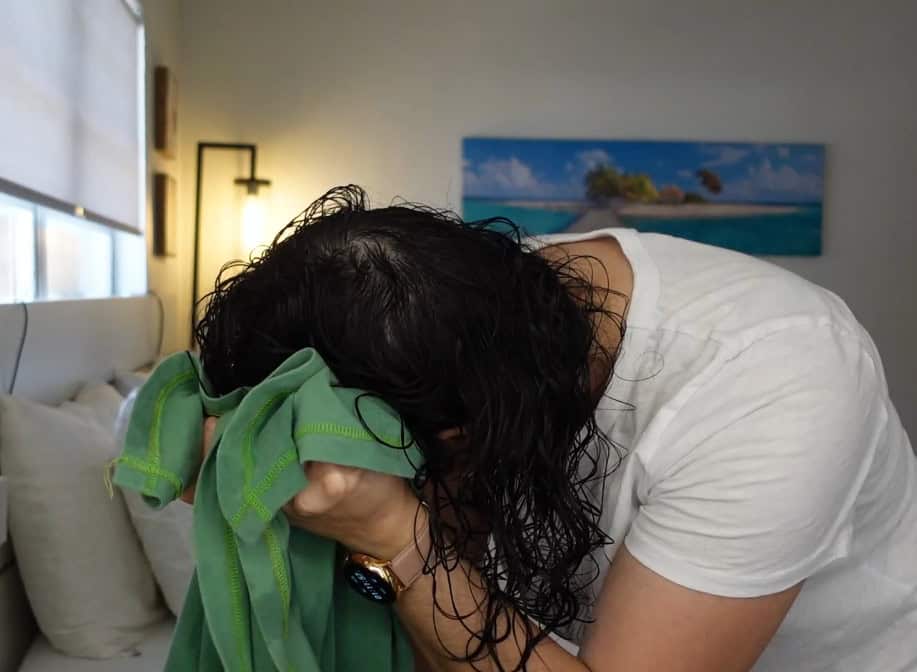
Once you’re happy with your curl clumps, wrap your hair up in a microfiber towel or cotton t-shirt using the plopping method. You’re not aiming for dry hair, so don’t leave it in there too long, or you could end up with flat, frizzy hair. Just a few minutes will remove excess water to speed up your dry time and give you your best curls.
So far, I’ve taken 7 minutes to shampoo, condition, and detangle my hair, create my curl clumps, and put them up in a plop.

Step 3: Applying Styling Products
This routine is all about fast results, so your choice of products and how you apply them will make a big difference to the finished result.
Product Selection
Just like your shampoo and conditioner, you want to choose styling products that you know give you excellent results. You also want to minimize the number of products as much as possible because each product you apply takes more time.
So, I recommend sticking to a one-and-done styler or a combination of no more than two styling products.
I highly recommend using strong hold or medium/strong hold products. They’ll reduce frizz and help your style last longer, and the extra hold means you usually won’t need to layer on multiple products.
If your hair is really thick or dry, apply a volumizing or moisturizing product like a curl cream or a lightweight leave-in conditioner for extra moisture. Then, you can layer on your main hold product, which will probably be a mousse or styling gel. Creams and foams won’t deliver the best results for this routine.
My current go-to product is Curlsmith Hydro Style Flexi-Jelly, which has been giving me great results.
If your hair doesn’t need that much moisture, you can even skip the moisturizing stage and just go straight to the gel.

The perfect thin gel with medium to strong hold that works in humidity and doesn't weigh down fine curls!
Application Techniques
I’d usually recommend sectioning your hair and taking your time to ensure you’re coating every strand with your styling products. But this curly hair care routine is all about speed.
So I just split my hair into two large sections, add a little water to emulsify the gel between my palms, and gently glaze the gel over my hair.
Don’t press too hard, just pass your hands over your clumps and pick the clumps up to get as good coverage as you can. You want to work quickly, but you don’t want to have to redo everything the next day.
Our total time for the whole routine is 8 minutes so far.
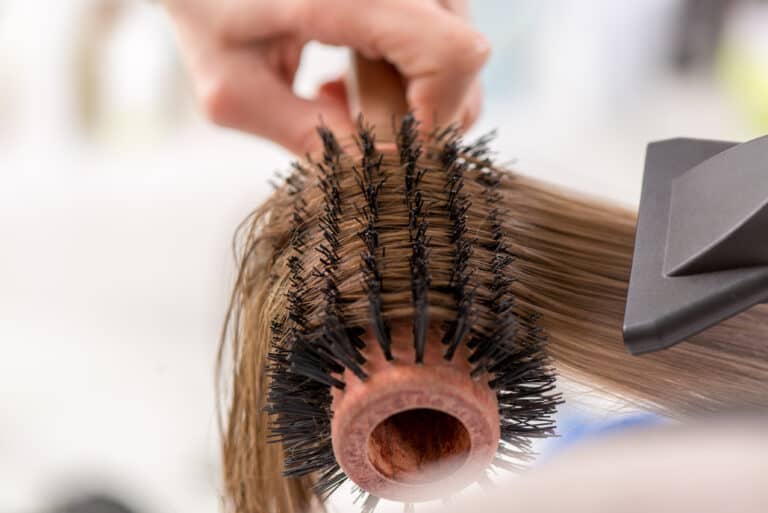
Step 4: Quick Drying Techniques
Now you’re ready to dry your hair, and I have a few simple techniques that will speed up this stage.
Micro-plopping
First, I take my microfibre towel and do a quick 1-minute micro plop, which just means flipping your head over and using the towel to scrunch your curls up towards your scalp.
This is my top tip for fast results because it removes a little excess product and water, so your hair will dry faster.
Remember, speed is the whole point of this routine.
If you have some extra time, you could take your brush and spend a couple of minutes brush styling any parts of your hair where you want a little extra definition.
I would pay special attention to the front sections and maybe a top layer. I wouldn’t bother so much about the underlayers where it’s not so visible.
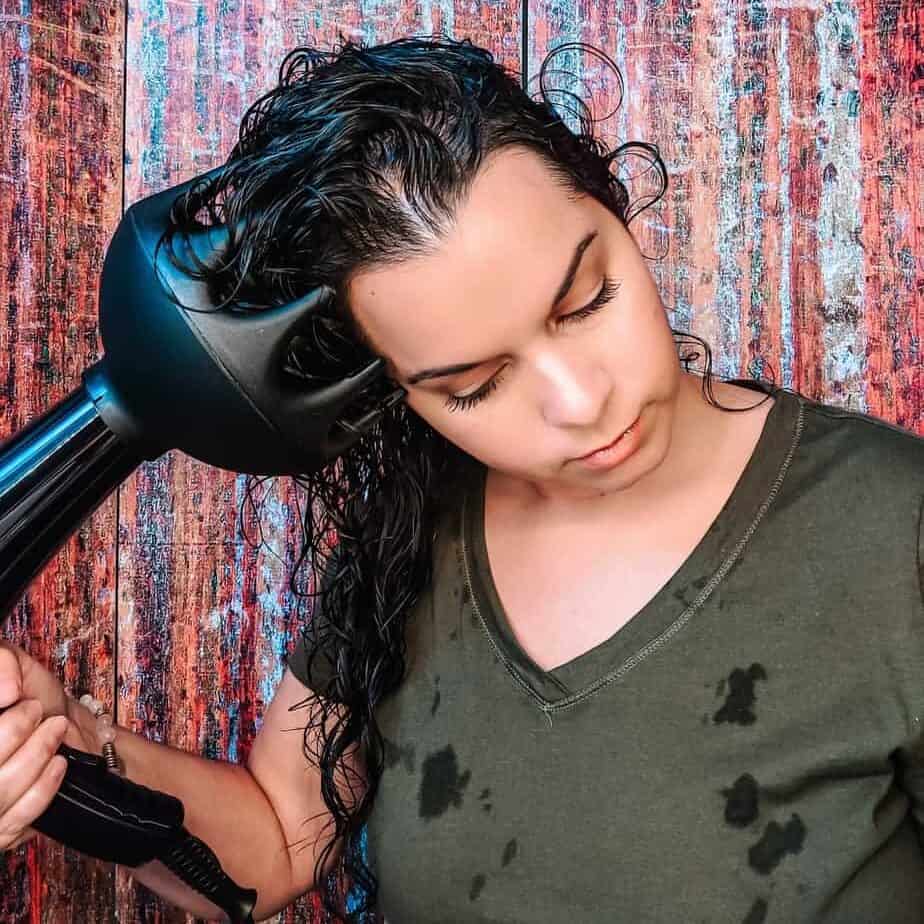
Diffuse Drying
Diffuse drying is my preferred method, especially when I want to get dry hair as quickly as possible. If I air dry my curls, they look stretched out and flat on the first day, and then they’re too fluffy and frizzy the next day.
So, I always diffuse, which helps to set a cast on your curls and lock in those curl clumps you created in Step 4. Some styling products are heat-activated, so using a hair dryer will make them more effective and give you more hold.
Remember to apply a heat protectant spray before you use a blow dryer or other heat tool to protect your healthy curls.
This is the part of the routine that will vary the most, depending on how much hair you have. If you have longer and thicker hair, you also have more water and product, which is why sticking to two styling products and microplopping before you dry is so important.
Blow dryers vary in how hot they get, so you might need to change the speed and heat. My hair dryer gets pretty hot, so I use low heat and medium speed and focus mainly on the roots, which take longer to dry.
Pixie Diffusing
You can just hover diffuse if your hair dries quickly and you want to avoid shrinkage. This is where you hover the diffuser bowl just above your hair so the gentle heat can reach it.
However, I like to go in and do some pixie diffusing to lock the curl in at the ends of my hair.
Pixie diffusing is a method for drying curly hair where you scoop your ends in the diffuser bowl and push the diffuser up towards your scalp for about 30 seconds.
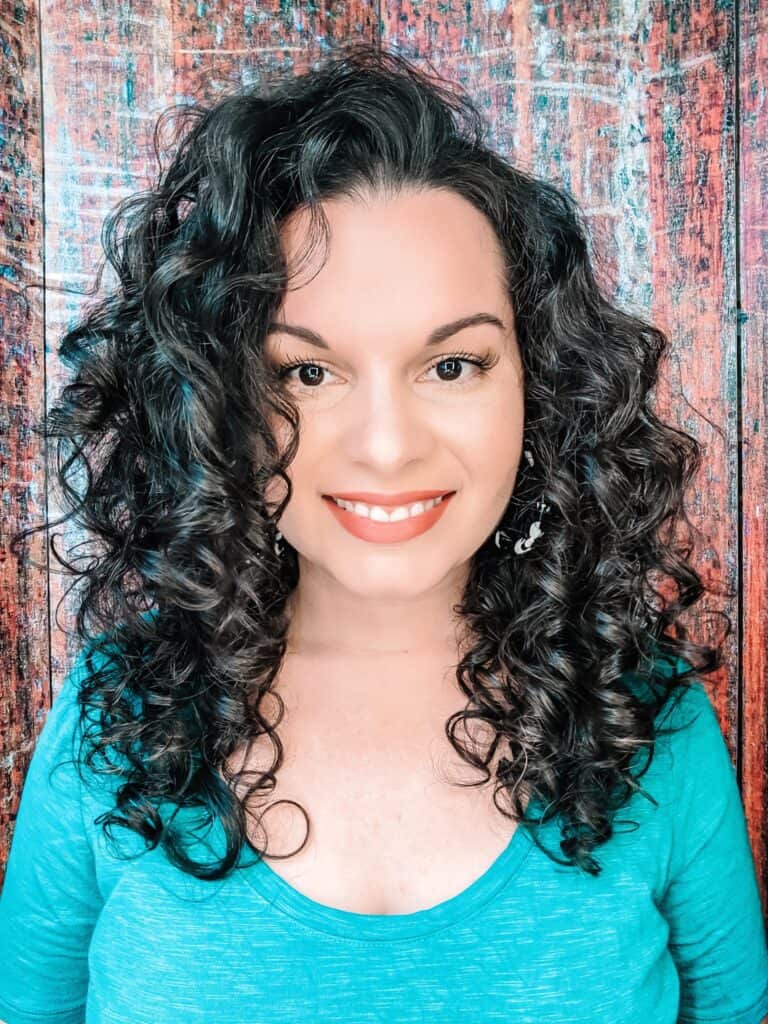
Step 5: Finishing The Look
So far, this routine has taken 9 minutes to shampoo, condition, style, and microplop my hair. After 7 minutes of diffuse drying, my hair is almost completely dry, and I’m ready to finish my look.
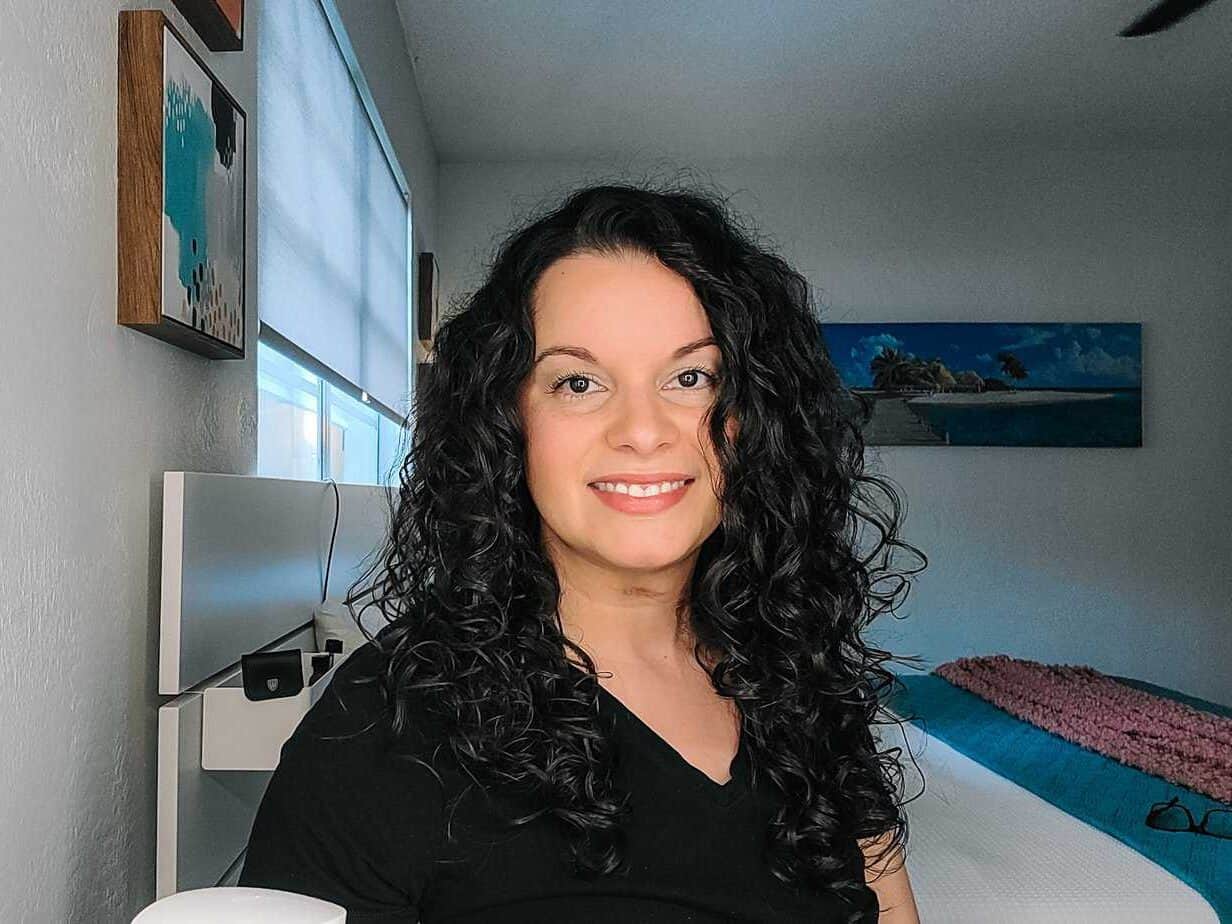
Microplopping my hair before adding styling gel helped me develop a cast that gives great curl definition. So, even though I can whizz through this routine quickly, I’m not skipping any vital steps or sacrificing much curl definition.
To finish, all I need to do is shake my hair out and fluff it at the roots to give a bit more of a lift. I lose a little definition at the roots and get a little frizz when I follow this routine. But I don’t mind that too much because a bit of fluffiness helps make my thin curly hair look thicker.
Besides, it saves me a ton of time, and that’s the main point of this fast curly hair routine.
FAQs
If you’re at the start of your curly hair journey, you’ll find these frequently asked questions helpful.
What Is The Curly Girl Method?
The Curly Girl Method, or CGM, is a very popular way to take care of curly hair with gentle shampoos and curl-friendly styling products. The method recommends using special techniques to apply products to the hair and keeping your use of heated styling tools and blow dryers to a minimum.
You can discover your own natural curl type by taking our quick Curly Hair Type quiz.
What Is Plopping Hair?
Plopping is a drying technique where you ‘plop’ your curls into a cotton t-shirt or microfiber towel and pile the whole thing on top of your head. It can help increase curl definition and minimize frizzy hair, but plopping for too long can flatten your curls.
Do You Comb Hair Before Plopping?
It’s best to detangle your hair with your fingers, detangling brush, or wide-toothed comb, then work your styling product through your hair, section by section. When you’re sure you’ve got good coverage, plop your hair without combing your hair first.
The Bottom Line
As you can see, you don’t have to spend hours on your curly, coily, or wavy hair care to guarantee good hair days.
My 16-minute curly hair routine uses some simple tricks like picking products you know work well and time-saving techniques like micro-plopping to deliver great results at high speed.
Simply follow these 5 easy steps, and you’ll be ready to leave the house in next to no time!