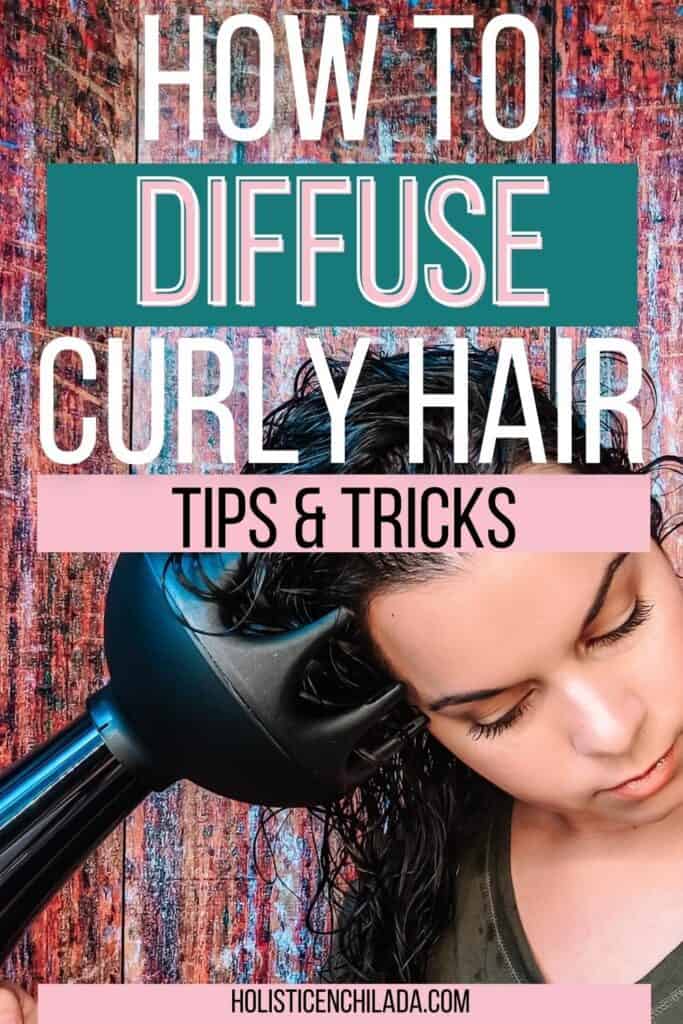
How To Diffuse Curly Hair
This post may contain affiliate links, and I will earn a commission if you purchase through these links. Please read the disclosure policy for more details.
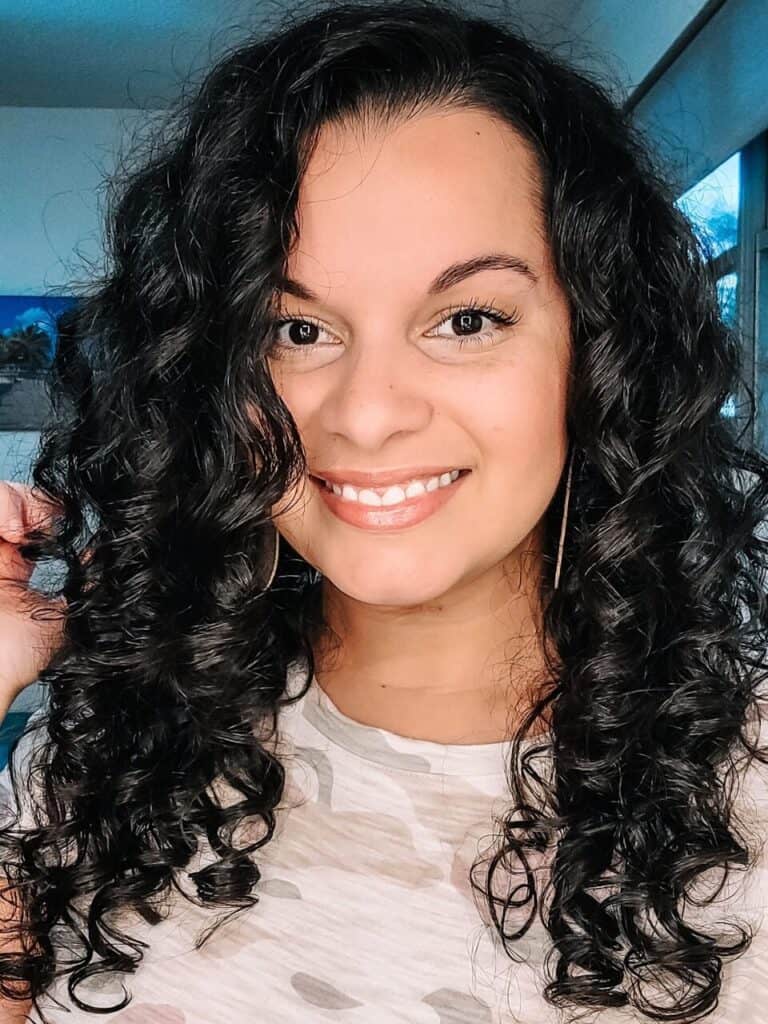
Have you ever wondered how to diffuse curly hair? It can be a little tricky, but it’s a great way to quickly dry your hair and have a style that lasts. In this post, we’ll teach you how to diffuse your curly hair in the best way possible. So whether you’re a curly girl newbie or just looking for some new tips, read on!
Tips For Success Diffusing Your Curls
Here are a few pro tips to help you diffuse curly hair like a pro.
Prep Your Hair
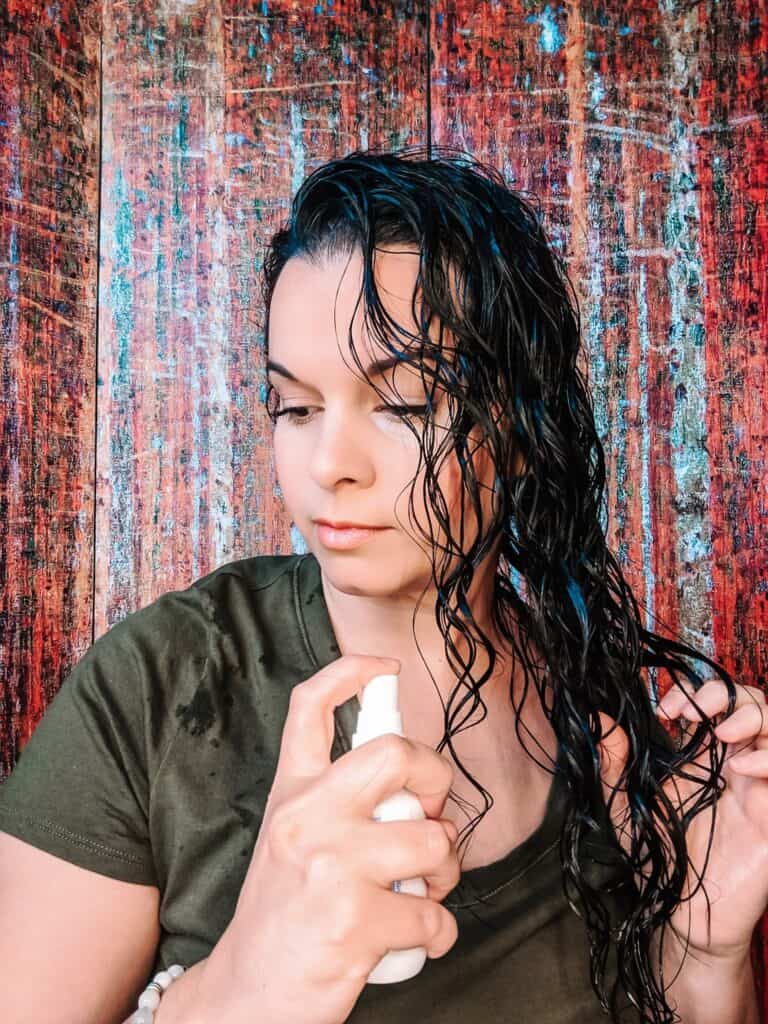
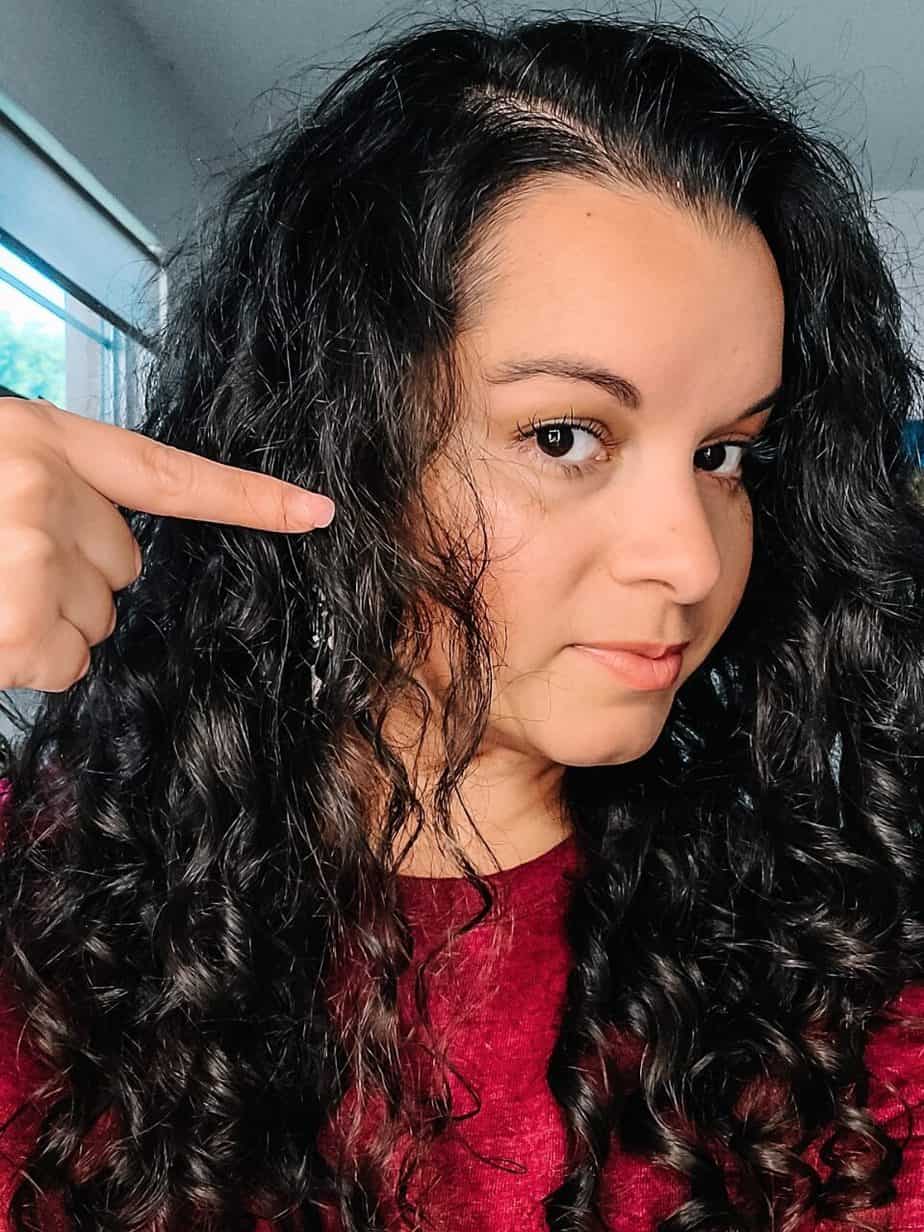
Make sure your hair is fully styled without any frizz. If you see frizzy sections before you even start diffusing, you’re guaranteed to see even more once it’s dry!
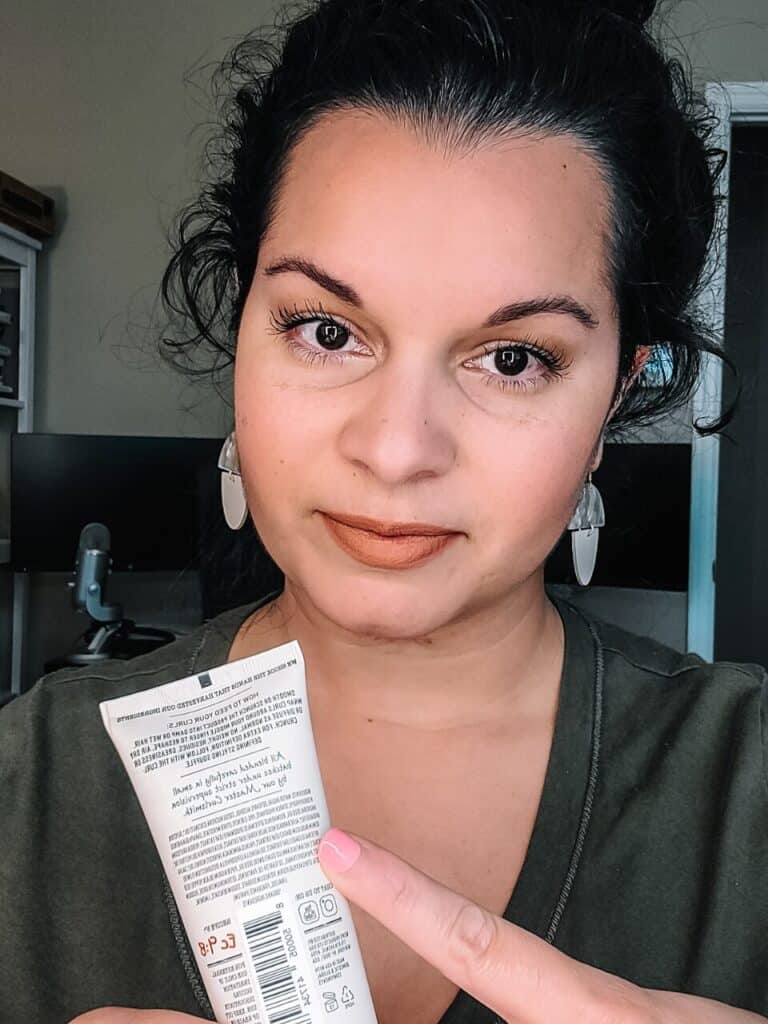
Use a leave-in or curl cream, and a styling product that has some hold to style your curls.
You could also use a heat protectant but it’s not necessary. I do recommend you add one if your hair is very damaged or easily damaged. Better to be safe than sorry, right?
Work In Sections
Always work in sections. The more hair you have, the more sections you can create. Start off with the root area then work on the ends.
Don’t touch it while diffusing
Unless you want extra fluff (read: frizz), try to touch your hair with your hands as little as possible while you diffuse.
Fluff It Out
When you’re done diffusing, fluff your hair to break any cast that’s left and get some natural volume.
Let It Set
When you’re finished, you can blast your curls with some cool air for a few seconds to help them set faster.
Then try not to touch it for a while to let it settle and set.
If diffusing at night, try to wait at least an hour before getting in bed. If you diffuse in the morning, try to wait a while before leaving the house.
Get more hair drying tips for curly hair here.
How To Use A Diffuser On Curly Hair
Using a curly hair diffuser is actually pretty easy – that is, as long as you know what to do! Here are a few tips to help you get the definition you want with less drying time.
Choose Your Heat Setting
This is important, but everyone will have a different setting that works best for their hair.
If your blow dryer has multiple settings you can try them out and see what works best for you.
I recommend medium heat and low to medium speed to start off. If you are recovering from lots of damage, then low heat is a better option.
Just know that the higher the speed, the more likely it is to blow your hair around and cause frizz. I use low speed because my diffuser is very strong, but most people will be fine with medium or high.
Choose Your Method
There are several diffusing methods out there, from super easy to the more complicated.
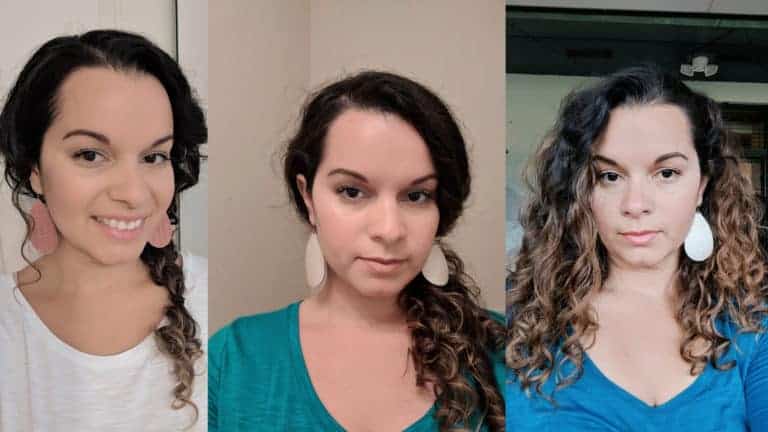
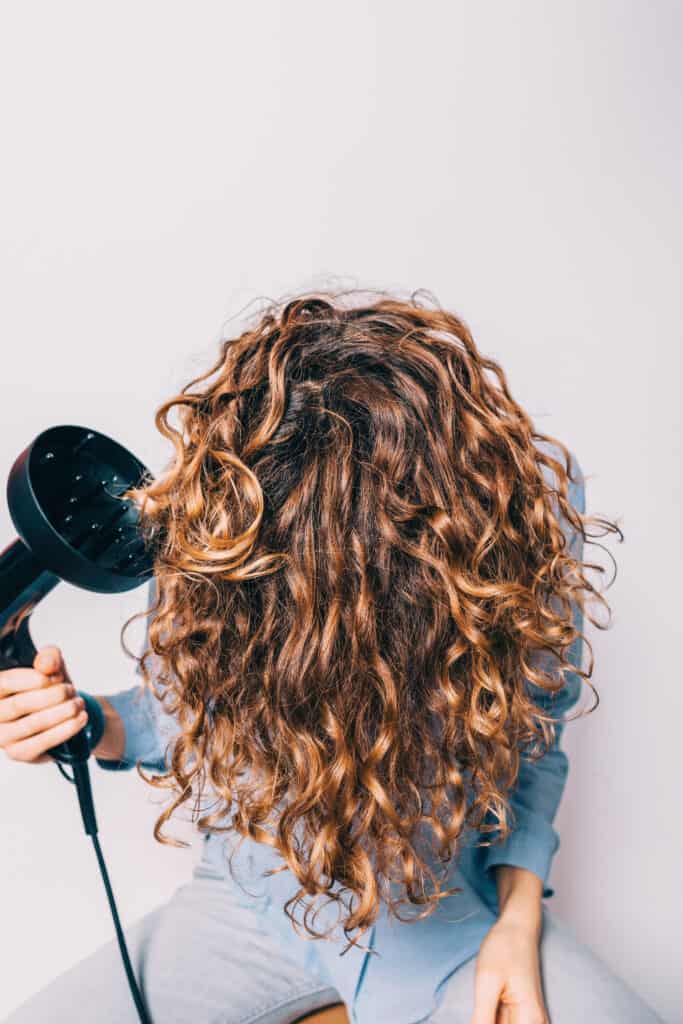
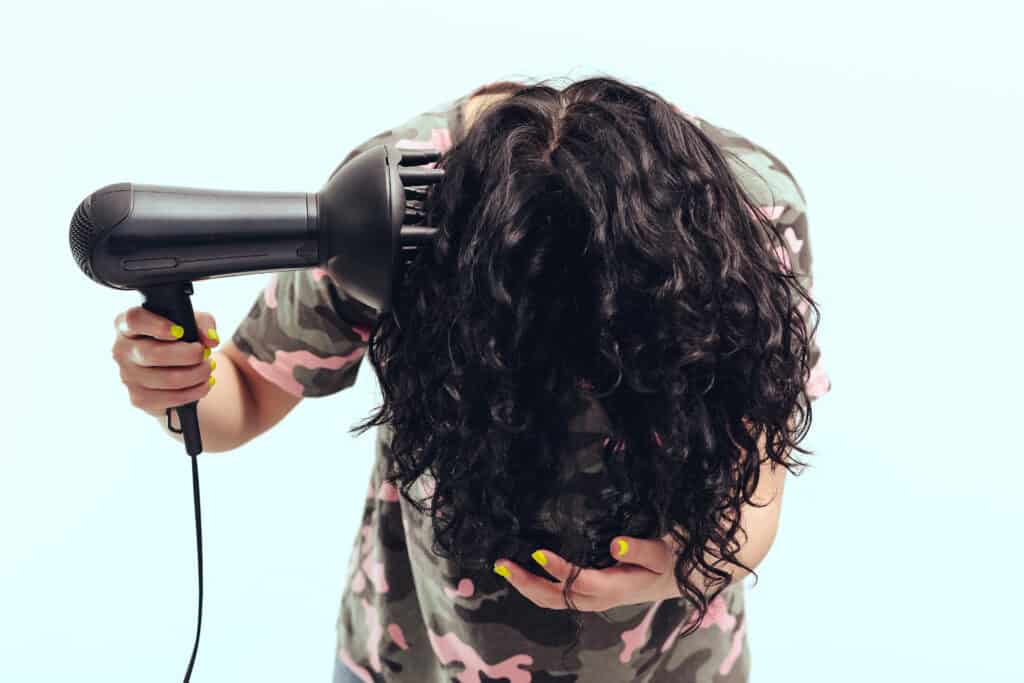
To start off, tilt your head forward and hover diffuse (pictured below) by holding the diffuser a few inches away from your hair. You can move the diffuser attachment around with your hand or leave it stationary on one section. The goal is to dry the root area while your ends set a bit. Do this for a few minutes until you notice the roots are not as wet.
From here you can:
Continue hovering – This will result in a more natural look with a looser curl pattern.
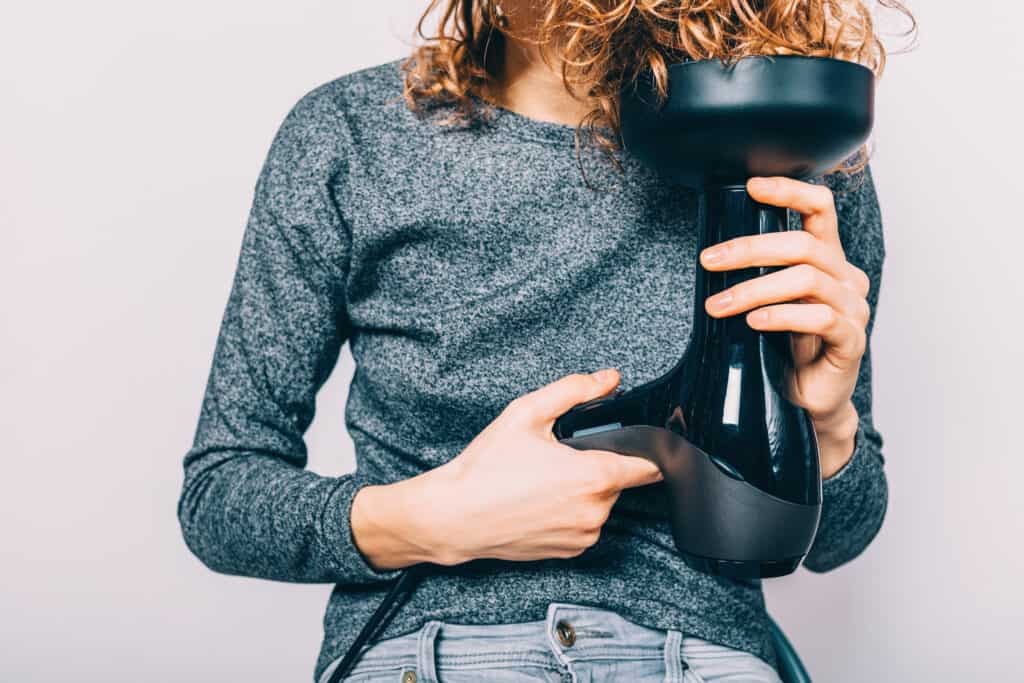
Pixie diffuse: Cup the end of your curls into the diffuser and push up towards the scalp as pictured above. Turn on the diffuser and leave it there for up to 30 seconds. Turn it off and move on to another section. Be careful to ensure your curls coil into the diffuser naturally so you don’t create wonky curls.
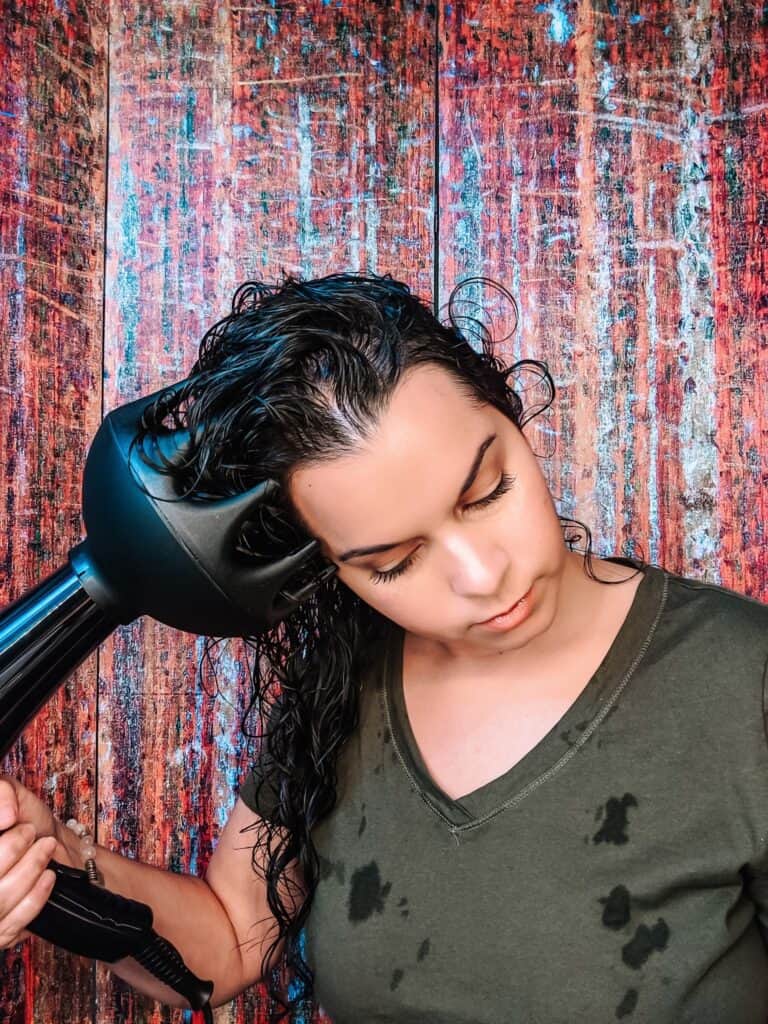
Cup diffuse: Cup the ends of your curls into your hand so they coil in nicely and push up a little. Aim the diffuser down at your hand for up to 30 seconds to dry the curls. This results in fewer wonky and uneven pieces and a little less volume and tightness than pixie diffusing.
Want more volume?
If volume is your goal, then you want to flip your head from side to side and upside down while you diffuse. Pixie diffusing will create tighter curls with more volume as well. Diffuse until your hair is almost fully dry.
Also, use volumizing products. Most are activated with heat.
Check out my volumizing routine here.
Prefer a more natural look?
Simply hover diffuse and don’t diffuse to 100% dry. Stop when it’s almost dry.
How To Use A Hair Diffuser – My Diffusing Routine For Volume
Watch my video below where I show you my exact diffusing routine for curly hair. I share the best tips and tricks for fine curls and how I get more volume.

Diffuser For Curly Hair
If you’re looking for the perfect curly hair diffuser, here are a few I recommend:
Xtava Black Orchid – This large diffuser is among the most popular. It has long prongs and a large bowl, making it a great option for long hair.
Hairizone Universal Hair Diffuser – This is a universal diffuser that fits any hairdryer. It’s smaller but works well for all curls.
SindycurlsMagic Collapsible Hair Diffuser Attachment -This is a silicone collapsible diffuser that’s a great lightweight option. I have a similar one that I take with me when I travel.
FAQ’s About Diffusing Curly Hair
How do I prevent frizz?
Make sure your hair is not frizzy before starting, don’t touch it much while diffusing, don’t move the diffuser around quickly, turn the diffuser off before moving, and don’t use a high speed.
I have found that using a product with harder hold results in less frizz when diffusing. When I only use light hold products like mousse or cream, I get a lot of frizz.
How do I prevent wonky curls?
Don’t keep the diffuser on a section for too long. Up to 30 seconds is usually fine, but you might have to cut it down if you’re finding lots of wonky pieces.
Also, try cupping the ends with your hands and hovering a little longer, as these methods keep the more natural curl pattern in place.
Read more: How To Fix Uneven Curl Pattern
Conclusion
So, what are you waiting for? Now that you know how to diffuse curly hair you can start diffusing your curls the right way and get that lasting style and definition. With these tips, you’ll be able to diffuse your curls with less frizz and in less time. What’s not to love about that?
Please do me a favor and share this post to social media, as it helps me grow my audience and spread the word about our curly hair movement! And remember to subscribe to my YouTube Channel for more curly hair tips and product recommendations. Thanks!
If you want help with embracing your naturally wavy or curly hair, you can join my FREE email course and download my FREE pdf guide, THE QUICK START GUIDE TO MASTERING YOUR CURLS, full of everything you need to know to get started and bring out your beautiful waves and curls.
Want To Remember This? Save How To Diffuse Curly Hair To Your Favorite Pinterest Board!