How to Achieve Stunning Hair Finger Curls in 6 Easy Steps
This post may contain affiliate links, and I will earn a commission if you purchase through these links. Please read the disclosure policy for more details.
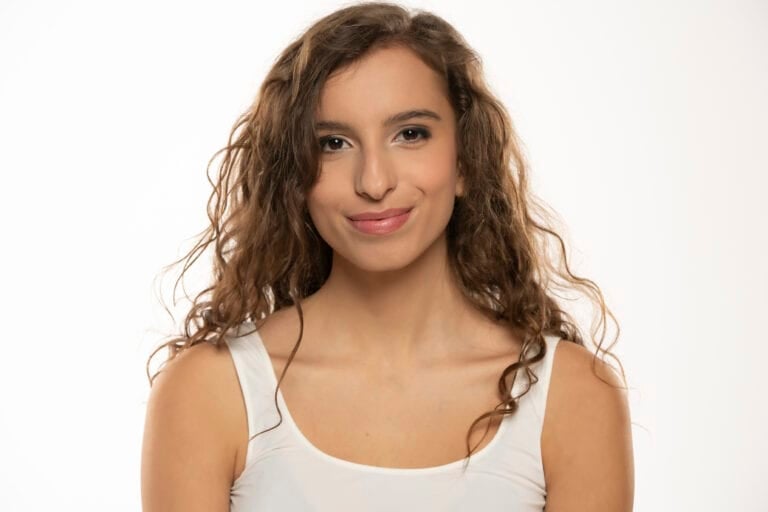
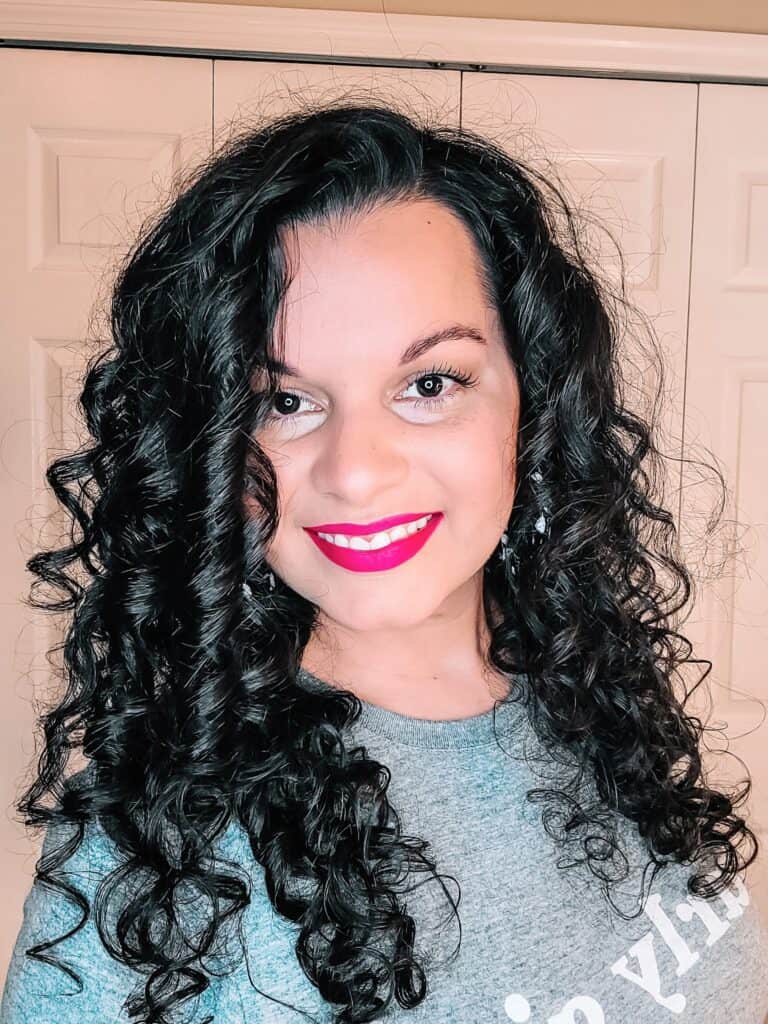
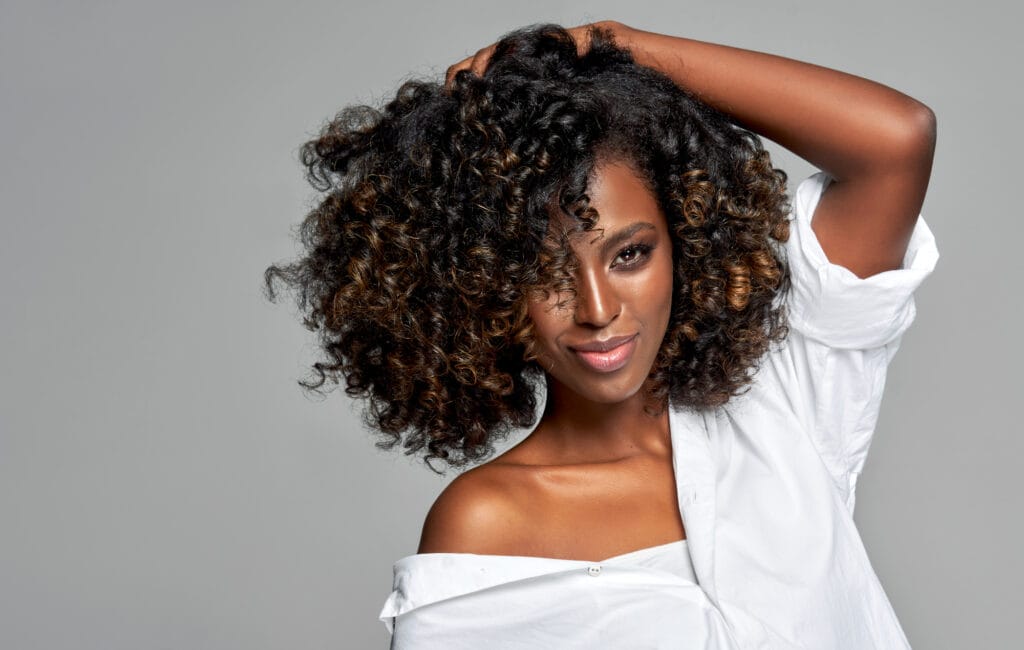
Have you ever seen someone with beautifully defined finger curls and wondered how you can create them on your own hair? The finger curling or finger coiling technique creates perfectly defined, volumized ringlets and spirals that last for days, and it has been popular with curly girls for centuries.
The great news is that this technique is super easy to learn, and you’ll most likely already have all the necessary tools and products. Simply follow the six easy steps in this guide, and you’ll soon have perfect finger coils without using any heated styling tools!
What Are Finger Curls?
The finger coiling method is a curly hair styling technique, which is also known as finger twists. The method involves picking curl clumps or small sections of wet hair and twisting them around your finger to create a spiral.
This styling technique is ideal if you long for better curl definition on frizzy or coarse hair, or want to create a consistent curl pattern on damaged hair.
By the way, finger twists, curls, or coils are not the same as finger waves, which is a way of using your fingers to set hair into defined waves.
The Benefits of Finger Coiling
Finger coiling is great for creating gorgeous curls without using heated curlers or a heated curling wand. Hot styling tools are a major cause of heat damage and can leave curly hair dry and brittle, so this heatless curling method allows you to enjoy healthy-looking curls without the risk of heat damage.
You can switch up your final look by picking larger or smaller sections – for instance, smaller sections will give your style extra fullness. And finger coiling gives excellent curl definition, giving your hair a more even texture, even if it usually struggles to hold a curl.
However, finger curling is very time-consuming, especially on long or thick hair, and the coils can take an entire day to dry. So, this isn’t a technique you’d want to use over your entire head of hair on every wash day.
Is It Possible to Achieve Finger Curls Without Heat?
The finger coiling process doesn’t use any heat, so it’s a great styling technique if you want to avoid heat damage. However, if you need to dry your hair quicker, sitting under a hooded dryer is gentler than using a blow dryer.

How to Do Finger Curls in 6 Easy Steps
To achieve gorgeous finger coiled hair, you just need to follow these six simple steps.
It’s best to start with freshly washed and conditioned hair, but if it’s not a wash day, you can dampen your hair with a water spray. You don’t need soaking wet hair for this technique, so use a cotton t-shirt or microfiber towel to remove excess water.
Tools and Products
Before you get started, gather the tools and products you need to create finger curls:
- Leave-in conditioner
- Detangling spray if needed
- Detangling brush
- Wide tooth comb or fine comb
- Spray bottle
- Hair ties or clips
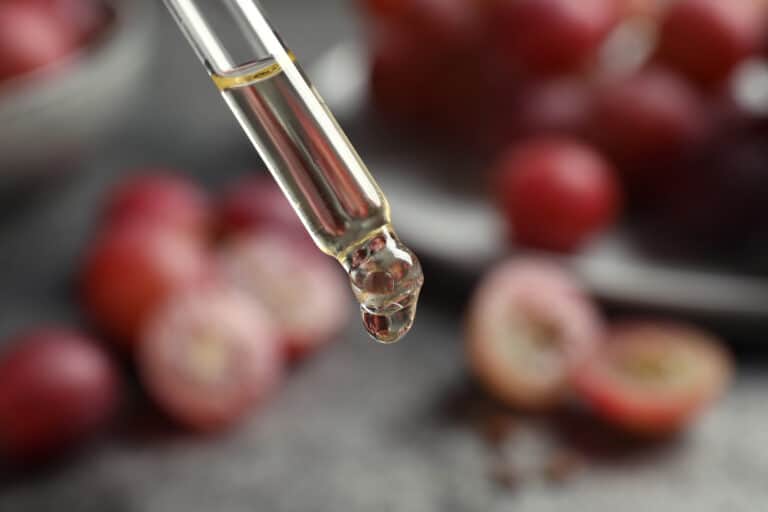
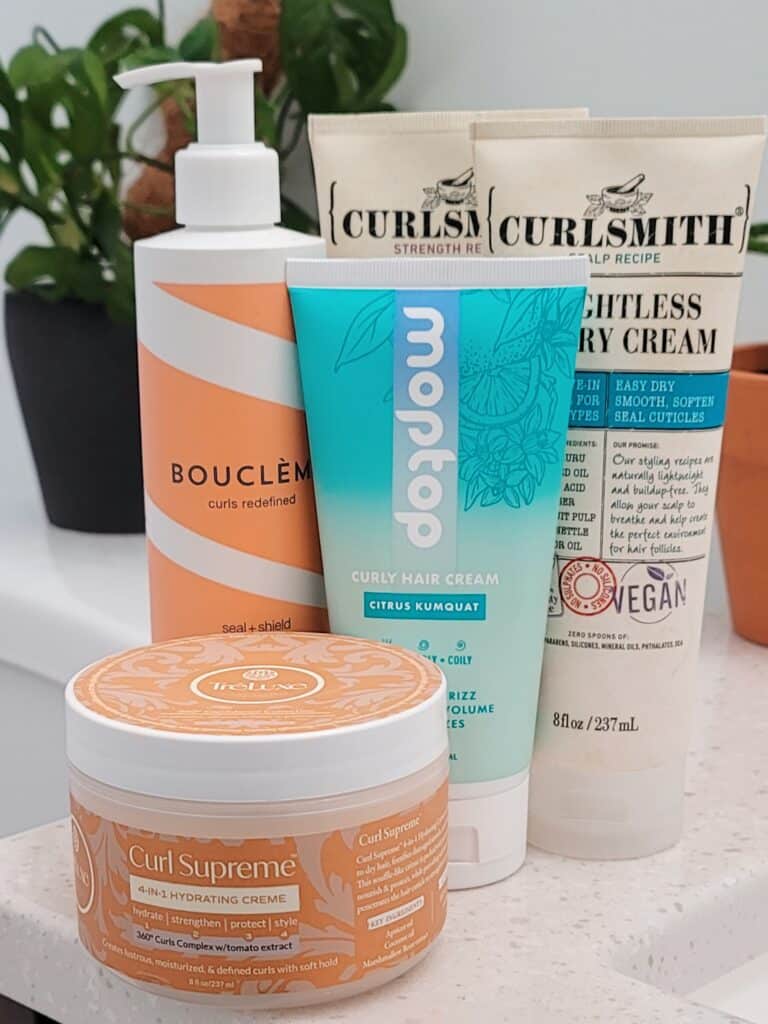
- Curl cream or gel (or whatever styling products you use)
You will also need the following to protect your curls overnight and revive them in the morning:
- Satin/silk scarf or pillowcase
- Curl refreshing spray
A wide tooth comb is great for creating a small, random finger coil without the risk of tangling, breakage, and hair loss. A fine-toothed comb will let you make more precise curls, but it’s best to stick to a wide tooth comb if you have tight curls or Afro hair to avoid damaging your locks.
Step 1: Preparing Your Damp or Wet Hair
Wash and condition your hair as usual, then apply a leave-in conditioner or detangling spray. Getting as much moisture into your hair before you start finger curling is essential as you’ll be handling your locks a lot, which can dry them out.
Detangling curly hair with your fingers or a detangling brush at this point is also a good idea, as it will make the finger curling process much easier.
Step 2: Section Your Hair
Use your wide tooth comb and the hair ties or clips to part your hair into four sections, but don’t worry if they aren’t exactly equal. This stage is just to make finger curling your hair more manageable.
Working with one section at a time, comb out any remaining tangles and use your fingers to apply a curl cream or hair gel. It’s probably easier to work with the back sections first and then move to the front of your hair.
Use about a quarter-sized amount of gel or curl cream, and smooth it with your fingers over every strand from roots to ends. This will lock in moisture, fight frizz, and give your curls more staying power. You can now comb the section again to ensure every strand is coated evenly and make sure the ends are also coated to prevent frizz.
Step 3: Create Finger Curls
Once you’ve prepared your hair, you’re ready to start creating curls.
Unclip one of your four sections and separate a 1 inch square piece of hair where your curl clumps naturally want to separate. You can use a rat-tail comb for more precise sections or use your fingers for a less precise look.
You can make the sections larger or smaller depending on the length of your hair and how tight you want the curls to be. Short hair will generally need small sections, but if you have longer hair, you can use bigger sections to make larger coils. If you think the section needs a drop more gel, apply some with your fingers before you start curling the hair.
Start wrapping the segment around your finger in the natural direction of your curl pattern, starting as close to the roots as possible to give more coils. You can twist your curls around your finger as tightly or loosely as you wish. Pull gently on the section while you’re twisting it, and when you reach the bottom, release the strand to let it coil back on itself.
Step 4: Repeat the Process
Repeat the process on all the curl clumps in the first section of hair, and then work through the rest of the sections until you’ve coiled your entire head of hair.
This can take 1-2 hours for shorter hair and even longer if you have long or thick hair, so take breaks if your arms start to get tired. If your hair starts to dry out, spray it lightly with water from your spray bottle and apply more gel or curl cream if necessary.
Step 5: Let the Curls Set
Your curls need to dry thoroughly to give them staying power and prevent frizz. You can let your hair air dry, but this could take as much as a whole day, so if you need to dry your hair quicker, you can also sit under a hooded dryer.
Whichever way you choose to dry your hair, avoid touching or separating your coils until they’re completely dry.
Step 6: Final Touches
Once your coils are totally dry, you can use your fingers or the end of a rat-tail comb to separate each coil. This will add volume to your style but could also cause tangles.
Putting your hair up with a scarf will help maintain your look. You can also wear a satin or silk scarf or bonnet to protect your coils overnight or try sleeping on a satin or silk pillowcase.
Spritzing your hair with a curl refresher spray will fight frizz and help revive your curls in the morning after you’ve slept on them.
Does Finger Curling Work for Any Type of Hair?
You can use finger coiling on all hair textures including fine hair and coarse hair. If you have coarse hair, try adding extra product to help your fingers glide down the strands without pulling or damaging them.
Wavy Hair
This style works fine on wavy hair, although the curls won’t be as tight as on curly hair types.
Short Hair
Creating finger curls in shorter hair should only take an hour or two, and you can diffuse dry your coils to give added volume.
Long Hair
Finger curling longer hair will be more time consuming, but the results look fantastic. Wind your coils tighter at the roots to stop them puffing up, and clip your coils up while they’re air-drying to give them some extra reinforcement.
Natural Hair
This style isn’t ideal if you’re transitioning to natural hair. You’ll be able to curl your new natural growth, but the technique won’t work on the straightened ends. The overall effect will look messy, so waiting until you’ve fully transitioned to natural hair is better.
Straight Hair
It can be difficult to curl straight hair without using heated styling tools. Finger curling might give your straight locks a pretty wave, but you won’t achieve defined curls.
Damaged Hair
If you struggle to maintain a consistent curl pattern on hair that’s been damaged by heat styling or chemicals, you should definitely give finger coiling a try. It’s a gentler way to transform damaged locks into beautiful curls.
How Long Do Finger Curls Last?
This depends on factors like your hair type and how well you maintain your look. You can generally expect your finger coils to last a few days if you take care over creating and maintaining your style.
You’ll get the best results if your hair is in good condition, so use a curly hair care regimen designed for your hair type and porosity. You can learn more about how to care for your hair in our curly hair type guides.
Tips to Make Finger Curls Last Longer
With good care, finger curls can easily last for a few days. These handy tips will help keep your curls looking gorgeous for longer:
- Start with clean, moisturized hair – your hair must be well-moisturized for the best possible results.
- Use the right products – a combination of leave-in conditioner or curl cream and hair gel will give you moisturized curls that last.
- Use the right finger coil tension – you need to curl from the roots and put enough tension into the twist to get the hair to curl back on itself.
- Be patient – coiling your hair can take a while, so take a break if your hands or arms start to tire.
- Set the finger coils properly – to give your curls more staying power, avoid separating your coils until they are totally dry.
- Avoid touching your curls too much – this will disrupt the shape of your curls and make your hair dry and frizzy.
- Protect your curls with silk or satin at night – wrap your hair with a silk or satin scarf, wear a sleep bonnet, or sleep on a silk or satin pillowcase.
- Refresh with a curl refresher – a spritz of a refreshing spray will bring your curls back to life.
FAQs
If you’d like to try finger curling your hair, here are some frequently asked questions about this styling technique.
Are Finger Coils Good for Curly Hair?
Yes, this is a safe way to create gorgeous curls that will last for days without using hot styling tools or rollers.
How Long Do Finger Curls Take?
This will depend on the length and density of your hair. You can probably finger curl short locks in an hour, but it will take several hours to finger curl long hair or very thick hair.
Can I Do Finger Curls on Dry Hair?
Your hair needs to be damp but not dripping wet before you start making finger curls. If you don’t have time to wash and condition your locks first, you can dampen your hair with a spray of water.
Can You Sleep With Finger Curls?
Covering your curls with a silk or satin scarf before bed will protect your curls overnight. Then, you can bring them back to their best with a refreshing spray in the morning.
Conclusion
The finger curling technique is a simple way of creating stunning coils that last for days. It uses a few products and tools you probably already own, and the method is really easy to pick up. And because you don’t need to use your blow dryer, heated curlers, or hot styling tools, this technique is also gentle on your tresses.
Creating finger coils can take a few hours to complete if your hair is long or thick, and you need to allow plenty of time for your coils to dry entirely. But by following the six simple steps in this guide, you could soon be showing off your own gorgeously defined finger curls!