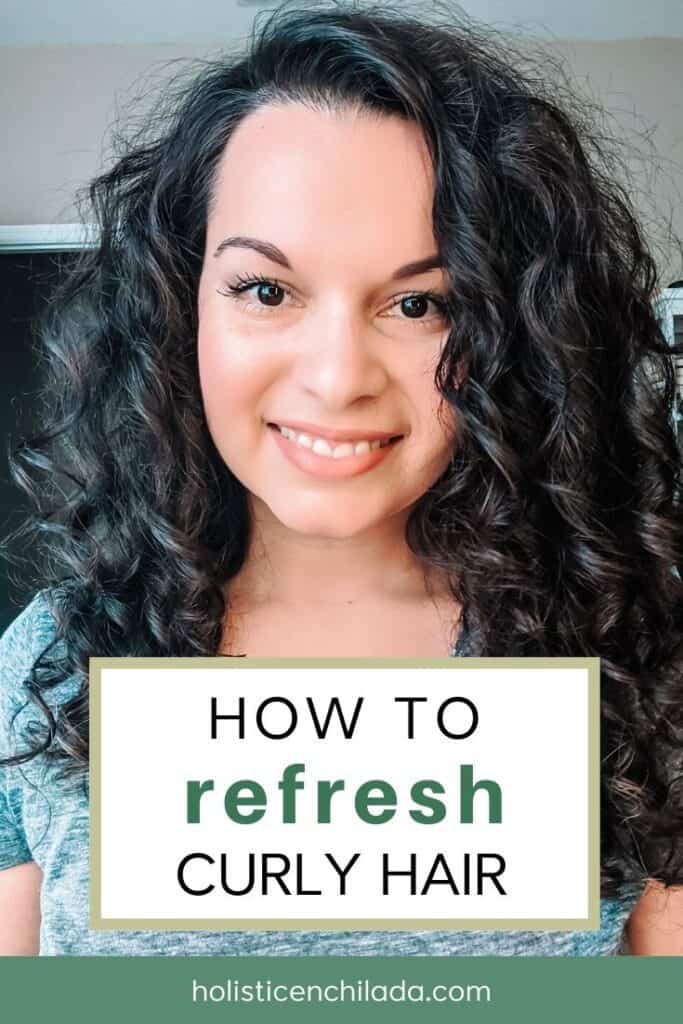
How to Refresh Wavy and Curly Hair (Without Starting Over Every Morning)
This post may contain affiliate links, and I will earn a commission if you purchase through these links. Please read the disclosure policy for more details.
You wake up.
One side is flat.
The other side is frizzy.
There’s a random stretched-out curl doing its own thing.
And now you’re standing in the bathroom wondering…
Do I try to fix this? Or do I just put it in a bun?
If refreshing feels inconsistent, frustrating, or like it takes way too long, you’re not alone.
The good news? Refreshing is a skill. And once you understand a few key things, it gets much easier.
Let’s break it down.
First: Reset Your Expectations
Your hair is not supposed to look like wash day every day.
Wash day is when your curls are freshly set, fully defined, and perfectly dried. Every day after that is maintenance mode.
Especially if you’re new to wearing your hair natural, refreshing can feel nearly impossible for the first few months. If your hair is fine, thin, or damaged, it may take longer to get consistent results.
That’s normal.
Refreshing isn’t about recreating wash day. It’s about getting your curls to look good enough, quickly.

If Refreshing Never Works, It Usually Starts Here
Most refresh struggles actually begin on wash day.
If your curls fall apart by day two no matter what you try, it’s often because:
- You didn’t use enough hold.
- Your curl clumps weren’t well formed.
- Your hair wasn’t fully dry before scrunching.
- You layered too much moisture and not enough structure.
Wash day sets the foundation for the rest of the week.
Quick Wash Day Tips That Help Refreshing Later
- Use more hold than you think you need.
- Style on very wet hair if frizz is an issue.
- Focus on forming solid curl clumps before drying.
- Let your hair dry completely before breaking the cast.
- Scrunch out the cast fully so curls aren’t stiff or misshapen.
When wash day is solid, refreshing becomes maintenance, not damage control.
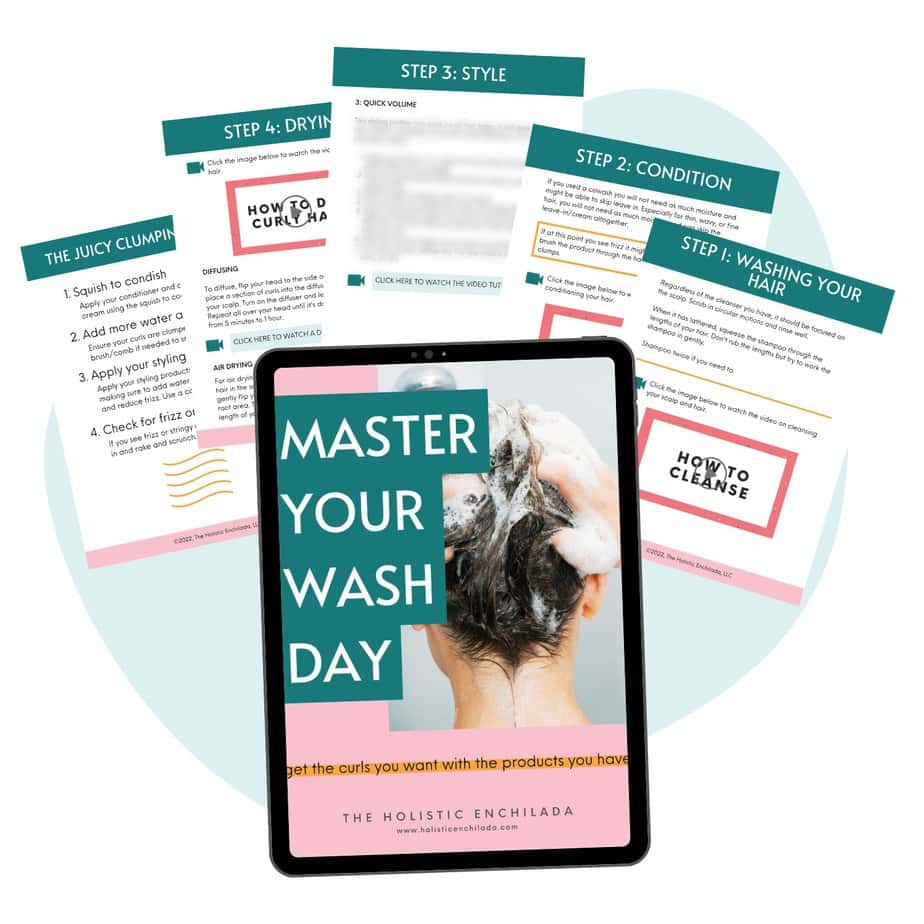
If you feel like your wash days are inconsistent or you’re constantly buying new products hoping something works, that’s exactly why I created Master Your Wash Day.
It walks you through:
- A simple, customizable routine using the products you already own
- How to get more definition and longer-lasting hold
- How to stop experimenting and start seeing consistent results
When wash day improves, refreshing gets dramatically easier.
Protect Your Hair Overnight (This Makes a Big Difference)
Before you even think about refreshing, protect your curls while you sleep.
Here’s what helps most:
- Pineapple or very loose top bun
- Buff or silk scarf if your curls flatten easily
- Satin or silk pillowcase
- Shower cap when you shower (steam causes frizz and limp curls fast)
The better your curls survive the night, the less you’ll need to fix in the morning.
Read more: How To Sleep With Curly Hair
The 3 Types of Refresh (And When to Use Each)
Not every refresh day should look the same. What your hair needs on day two is different from day four.
1. Wet Refresh (For Major Reset Days)
Best for:
- Flattened curls
- Stretched-out sections
- Heavy frizz
How to do it:
- Lightly dampen your hair – don’t soak it.
- Smooth with praying hands.
- Add a small amount of refresher or diluted product.
- Re-coil problem pieces.
- Gently scrunch.
- Air dry or diffuse.
Tip: Start with less water than you think you need. Over-wetting often creates more frizz.
Dry time will be much faster than wash day.

2. Targeted Damp Refresh (Most Common and Most Efficient)
Best for:
- A few messy sections
- Frizz around the crown
- Misshapen curl clumps
How to do it:
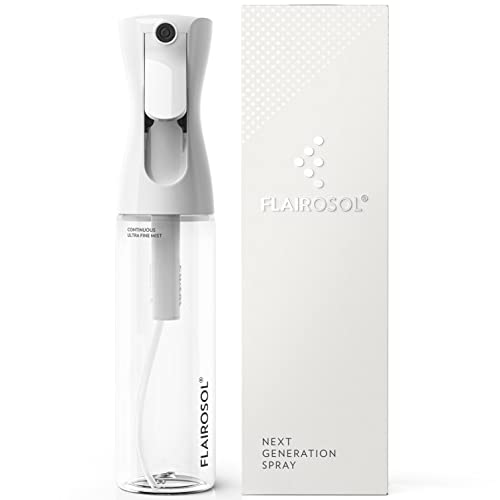
- Spray product or water into your hands – not directly onto your hair.
- Smooth only the problem areas.
- Re-coil selectively.
- Stop once it looks presentable.
Overworking your hair creates more frizz than underworking it.
Sometimes less really is more.
3. Dry Refresh (For Volume + Oily Roots)
Best for:
- Limp roots
- Oily scalp
- Curls that still have shape
How to do it:
- Apply dry shampoo at the roots.
- Massage your scalp.
- Flip your head for volume.
- Re-coil fluffy sections.
- Add a tiny amount of product only where needed.
This method usually works better once your curls are more established and your wash day foundation is strong. (or click here to go there now).
Refreshing Video Tutorials
I am going to link my YouTube playlist that includes all my refreshing videos here. You can also watch the playlist below.
A Simple DIY Curl Refresher
If you like making your own refresher:
- ¾ purified water
- A few squirts of conditioner (regular or leave-in)
- A small amount of gel
Shake before using.
This gives you light moisture plus a touch of hold without feeling heavy.
DIY Curl Refresher

A simple DIY curl refresher spray to revive next day curls.
Ingredients
- 8 ounce spray bottle
- purified water
- 2-3 tbsp conditioner
- 2 tbsp hair gel or other styling product
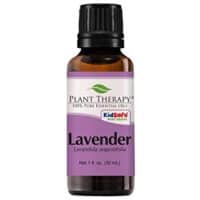
- 6 drops lavender essential oil
- 6 drops rosemary essential oil
- 6 drops peppermint essential oil
- OPTIONAL: 1 tbsp aloe vera gel or argan oil
Instructions
- Add the conditioner to the bottle. Use more if your hair tends to be dry and likes moisture.
- Add your styling gel or other styling product with hold.
- Add the lavender, peppermint, and rosemary essential oils.
- Optional: You can add 1 tbsp of pure aloe vera gel or argan oil for added moisture. *Aloe is better for hair that gets weighed down easily but some hair reacts badly to aloe.
- Fill the rest of the bottle up with purified water.
- Shake before each use.
Notes
The essential oils help freshen and soothe the scalp. You can omit them if preferred.
Recommended Products
As an Amazon Associate and member of other affiliate programs, I earn from qualifying purchases.
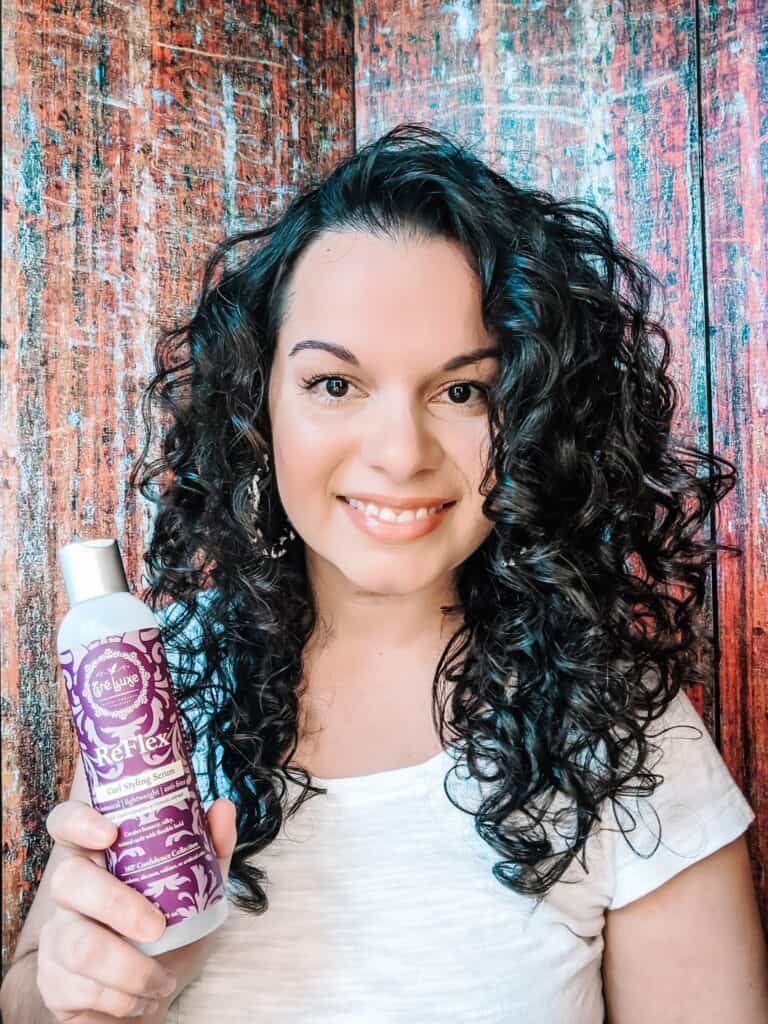
If DIY isn’t your thing, there are plenty of ready-made curl refreshers that work beautifully too.
- Jessicurl Awe Inspiraling spray
- Cantu Comeback Curl Revitalizer
- Ouidad Botanical Boost Curl Energizing & Refreshing Spray
- Thirsty Curls Leave-in Curl Refresher
- SheaMoisture Hold & Shine Moisture Mist
Where Most People Get Stuck
The biggest issue I see isn’t effort.
It’s guessing.
Standing in front of the mirror every morning trying random techniques is exhausting. Some days you wet too much. Other days not enough. Sometimes you add too much product. Sometimes none.
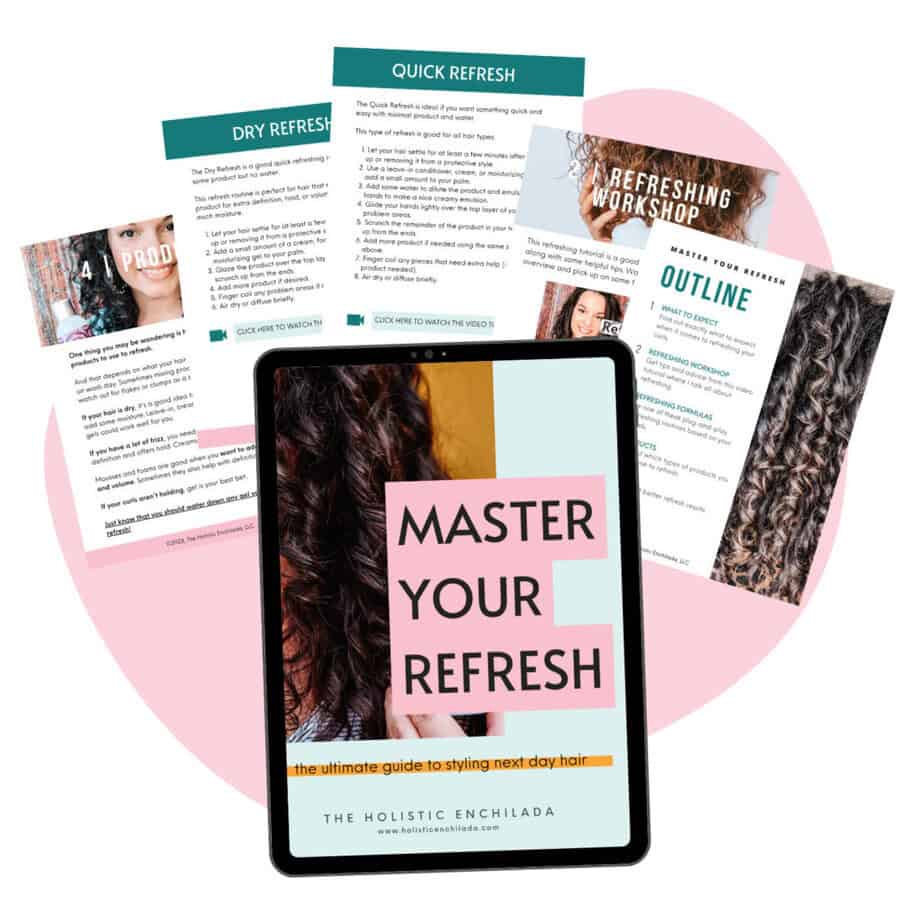
That’s why I created Master Your Refresh.
Inside, you get:
- 6 plug-and-play refreshing routines
- Clear steps based on what your hair looks like that day
- Video walkthroughs
- A quick decision process so you’re not experimenting every morning
It’s designed to help you refresh in as few steps as possible, and actually like the result.
If refreshing is the part of your routine that makes you want to give up and throw your hair in a bun, this gives you structure so it feels manageable.

Not Sure Which One You Need?
If your curls never look quite right, even on wash day, start with Master Your Wash Day.
If wash day looks good but days 2–4 are frustrating, start with Master Your Refresh.
If you want consistency all week long, they work beautifully together.

And Finally…
Your hair will not look identical every day.
That doesn’t mean you failed. That doesn’t mean you did something wrong.
The goal is not perfection. It’s consistency and ease.
And yes, some days the bun wins.
That’s allowed, too.